Watch it draw itself · tap to replay
How to Draw a Wright Flyer
Draw a wright flyer in 13 easy steps, about 10 minutes. Free, with a printable worksheet.
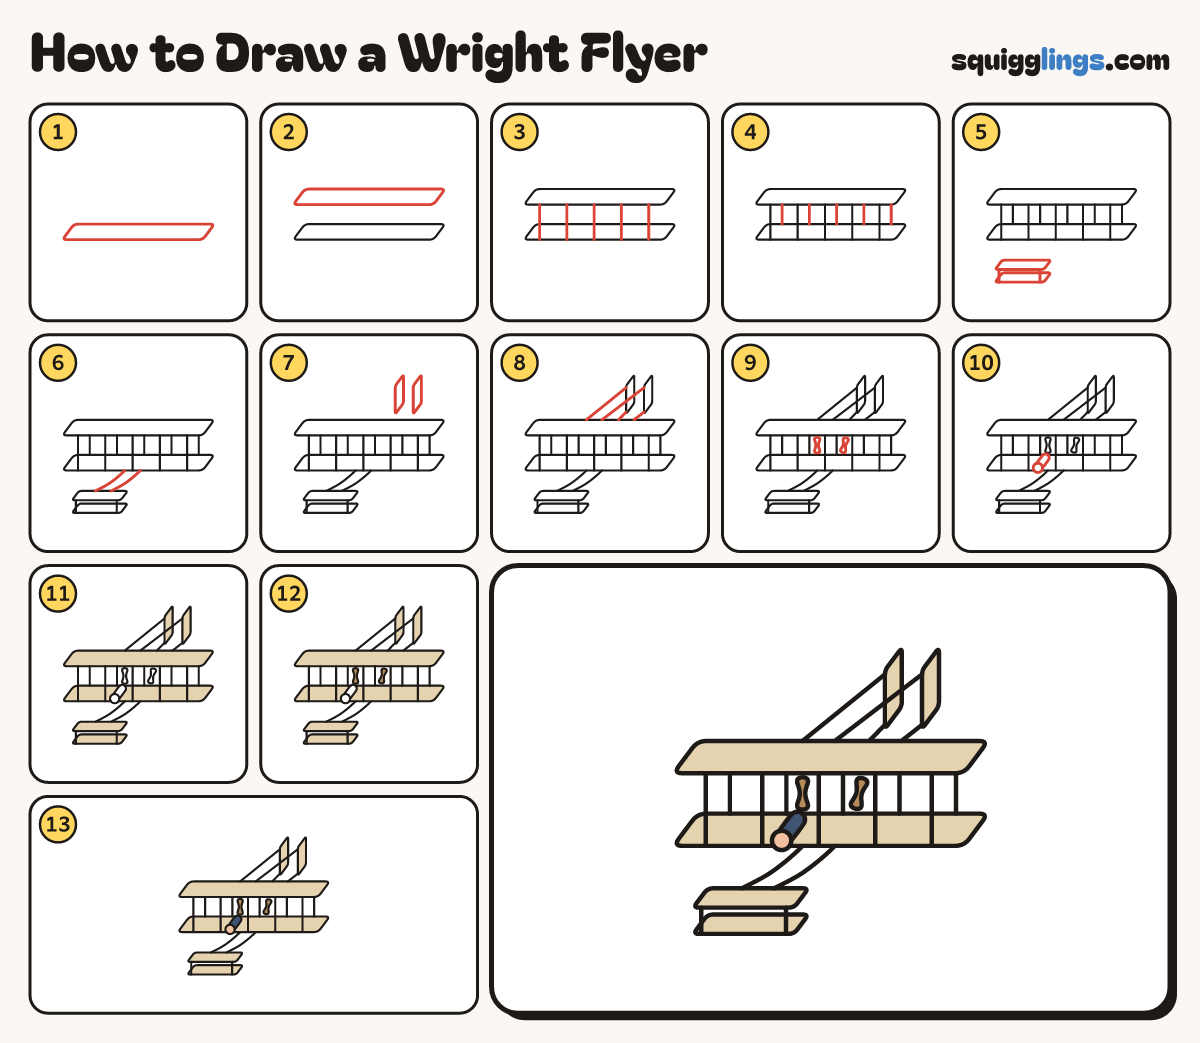
Each picture adds one red line. Draw that line, then scroll to the next picture. Rub out any dashed helper lines at the end. First up: bottom wing.
Step 1: Bottom wing
Across your paper, a little below the middle, draw a very long thin slanted box with soft corners.
Tip The 2 long sides are flat. The 2 short ends lean the same way.
Step 2: Top wing
Above it draw the same long thin box again, leaving a tall gap between them.
Step 3: Front posts
Start on the front edge of the bottom wing. Draw 5 straight posts up to the top wing.
Tip The first Flyer had no body, just 2 wings held apart by posts.
Step 4: Back posts
Start on the back edge of the bottom wing. Draw 5 posts up and stop under the top wing.
Step 5: Front elevator
In front draw 2 small thin boxes. Start on the lower one, draw 2 posts up, stop at the top.
Tip This little pair of wings steers the plane up and down.
Step 6: Skids
Start under the bottom wing. Draw 2 long lines forward and stop at the top small wing.
Tip The Flyer had no wheels. It slid along on wooden skids.
Step 7: Twin rudders
Up behind the top wing, on the right, draw 2 tall thin slanted boxes side by side.
Step 8: Tail booms
Start on the top wing's back edge. Draw 2 lines to each rudder and stop at its front corners.
Step 9: Two propellers
Between the wings draw 2 propellers: each a tall thin shape, pinched in the middle like a bow.
Tip They sit at the back and push the plane along.
Step 10: The pilot
On the bottom wing draw the pilot lying flat: a round head at the front, then a long body.
Step 11: Cloth wings
Colour both wings, the 2 small front wings and the 2 rudders a pale sandy colour, around the pilot.
Step 12: Wooden propellers
Colour the 2 propellers light brown, like wood.
Step 13: Colour the pilot
Colour the pilot's face peach and his suit dark blue. Go over your lines.
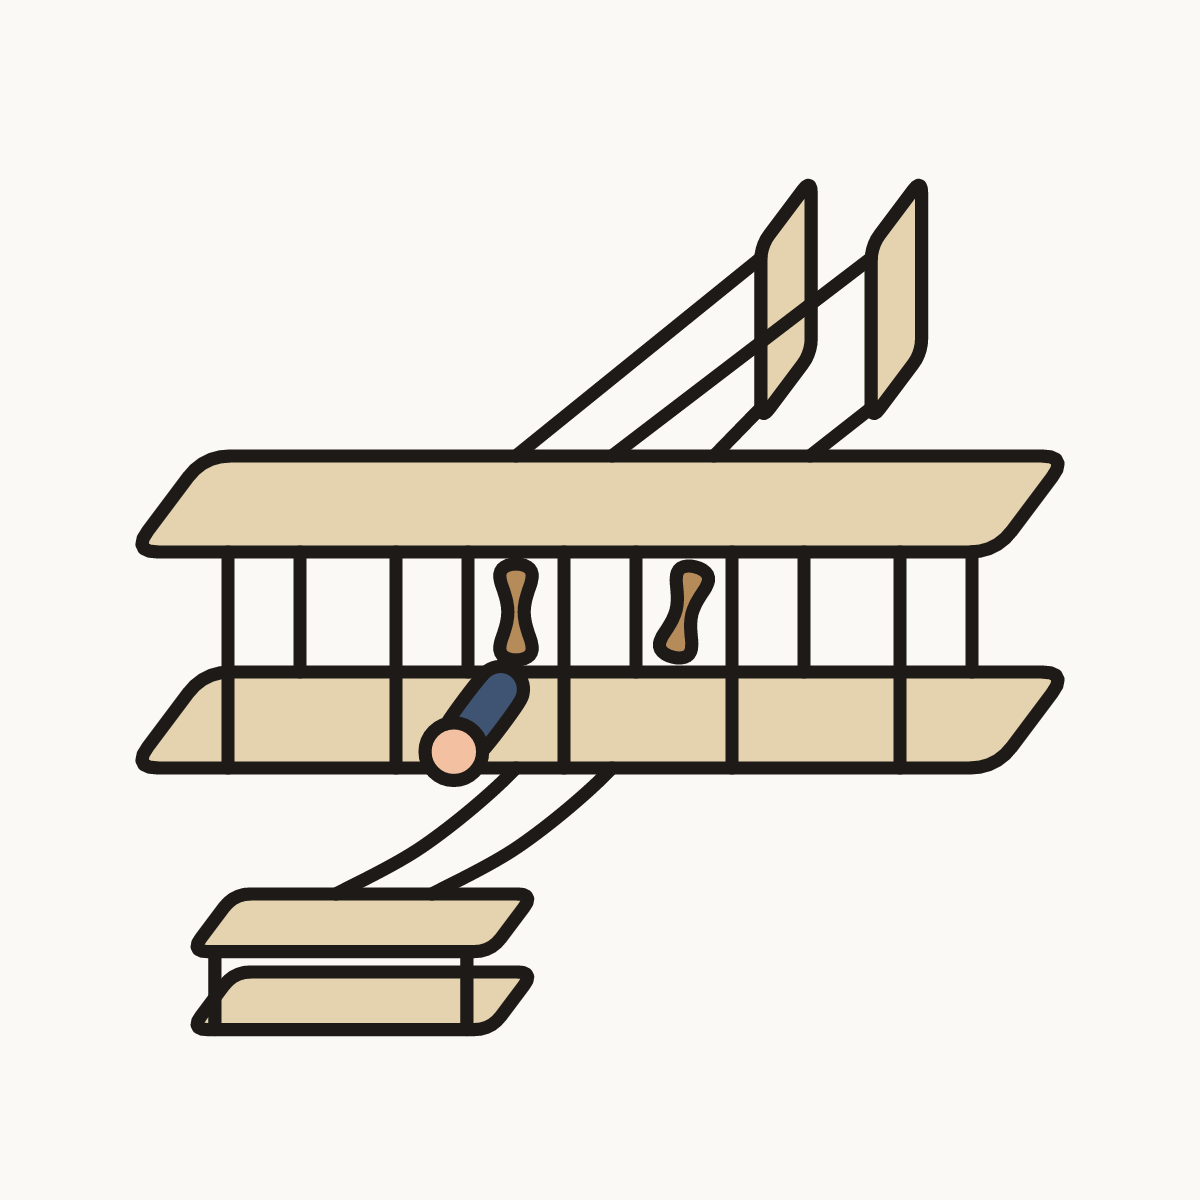
Your finished drawing
Follow the steps above and this is where you end up: a wright flyer, drawn by you.
Every step in one picture