Watch it draw itself · tap to replay
How to Draw a Weave Pattern
Draw a weave pattern in 10 easy steps, about 8 minutes. Free, with a printable worksheet.
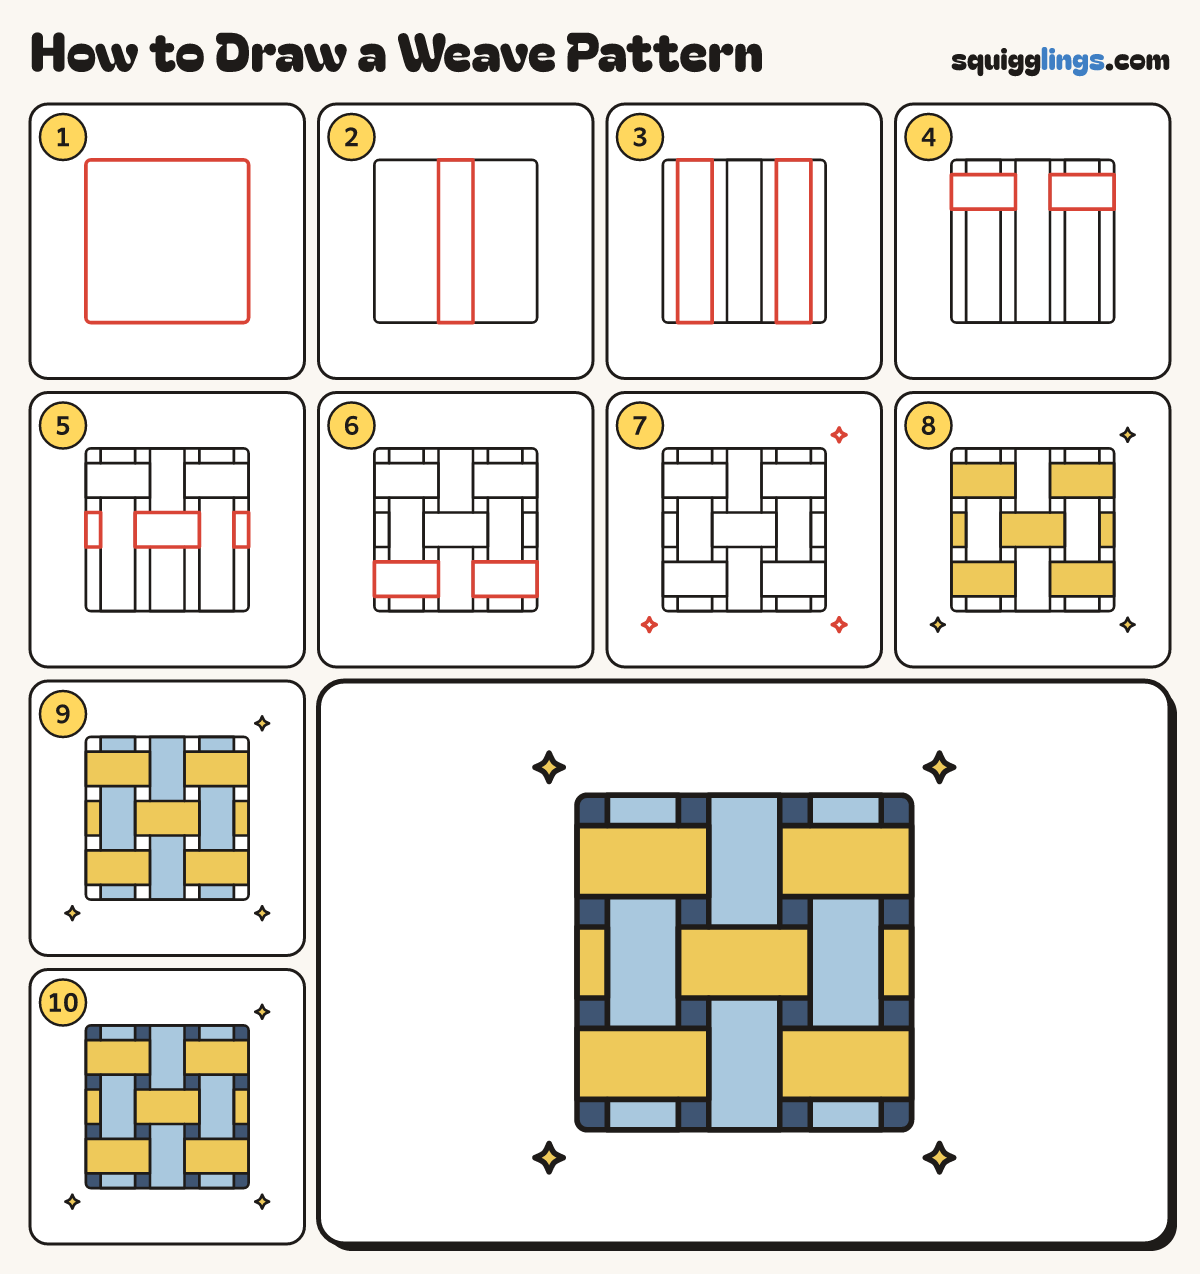
Each picture adds one red line. Draw that line, then scroll to the next picture. Rub out any dashed helper lines at the end. First up: the square.
Step 1: The square
In the middle of your paper draw a big square with softly rounded corners, nearly as big as your page.
Step 2: Middle tall strip
Down the middle draw a tall strip: 2 lines a thumb apart, from the top edge to the bottom edge.
Tip A weave is strips going down and strips going across, over and under each other.
Step 3: Two more strips
Draw a tall strip the same width on each side of it, leaving a small gap between strips.
Tip Keep all 3 strips the same width, with the same small gaps.
Step 4: Top wide strip
Near the top draw a wide strip across. It goes over the outside tall strips and under the middle one.
Tip Where a strip goes over, rub out the lines hiding under it.
Step 5: Middle wide strip
Draw a wide strip across the middle. This one goes under, over, under: the opposite of the top one.
Tip Over, under, over, then swap on the next row: that is how weaving works.
Step 6: Bottom wide strip
Near the bottom draw one more wide strip across, just like the top one: over, under, over.
Step 7: Sparkles
Draw 4 small sparkle stars just off the corners of the square.
Step 8: Yellow wide strips
Go over your lines. Colour the sparkles and the 3 wide strips yellow, only where they show.
Step 9: Sky blue tall strips
Colour the 3 tall strips sky blue. Each one hides behind a wide strip, then comes out again.
Tip Check each piece before you colour it: is it a tall strip or a wide one?
Step 10: Navy gaps
Colour the little gaps between the strips navy. Your weave pattern is done!
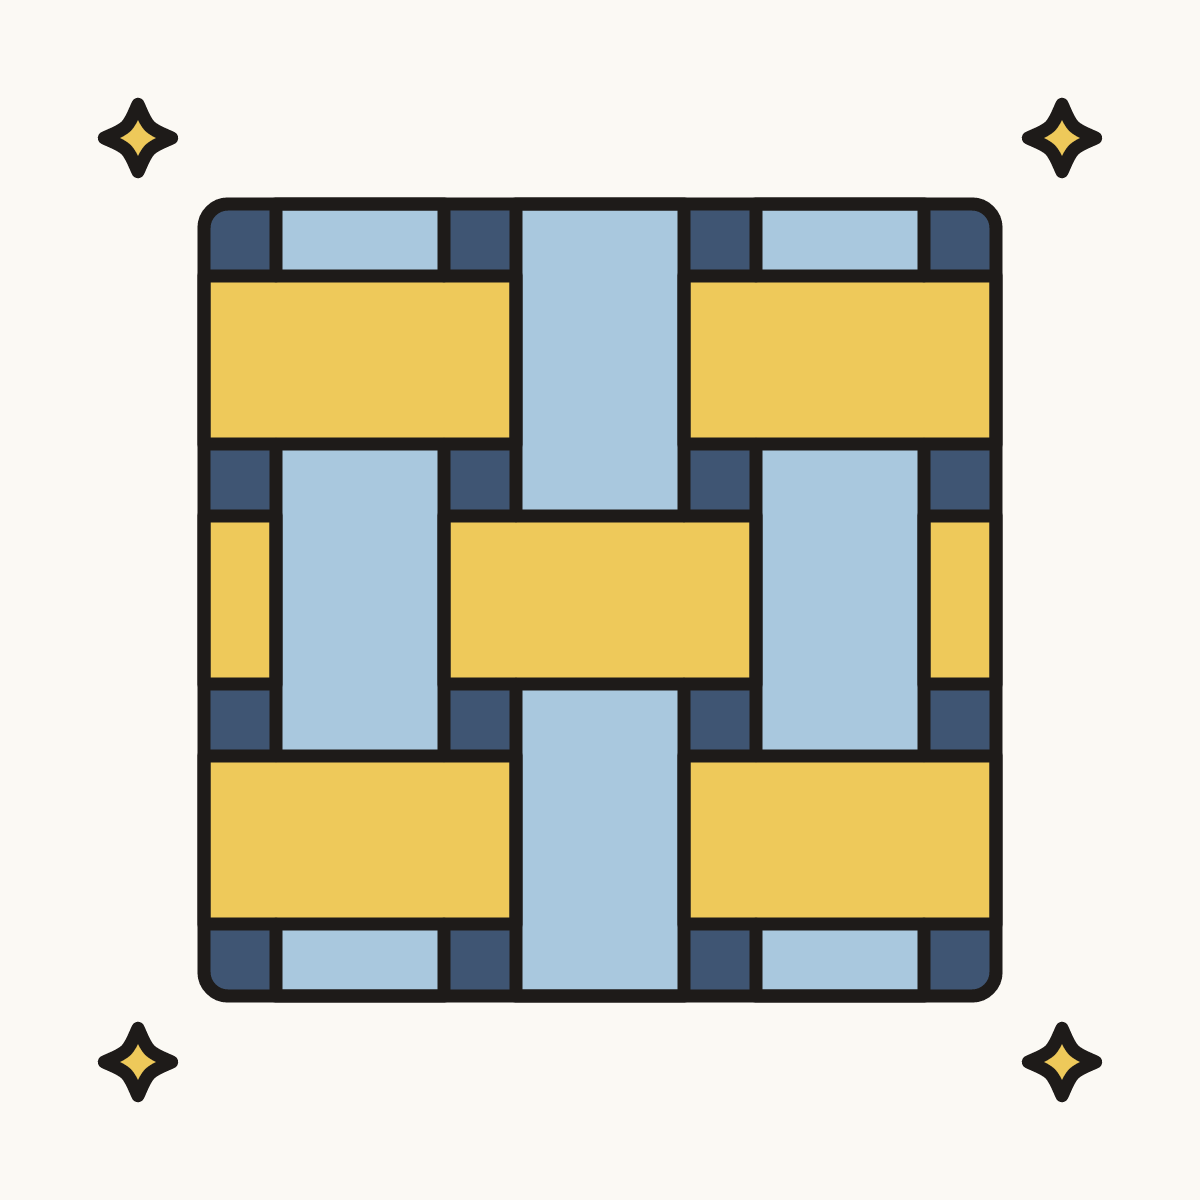
Your finished drawing
Follow the steps above and this is where you end up: a weave pattern, drawn by you.
Every step in one picture