Watch it draw itself · tap to replay
How to Draw a Tiger
Each picture adds one red line. Draw that line, then scroll to the next picture. Rub out any dashed helper lines at the end. First up: chubby head.
Step 1: Chubby head
Near the top, draw a big chubby head like a wide bean. Make it wider than it is tall.
Tip The cheeks bulge out below the middle.
Step 2: Round ears
On each top corner of the head, draw a round bump ear. Draw a small rainbow inside each one.
Step 3: Big eyes
In the middle of the head, draw 2 big eggy eyes.
Tip Black dot in each eye, with a white shine.
Step 4: Fluffy cheeks
Start on the side of the head, level with the eyes. Draw 3 fluff bumps down to the jaw.
Tip Each bump is bigger than the one before. Do both sides.
Step 5: Nose and mouth
Under the eyes, draw a peanut patch with a black triangle nose. From the nose, draw down into a w.
Step 6: Whiskers
Start on each side of the nose patch. Flick 3 whiskers out across the cheek, stopping before the fluff.
Step 7: Ground and body
Draw a ground line a head below the chin. From each bottom fluff bump, draw down to the hips.
Tip Join them with a wide smile that bumps up in the middle for the tummy.
Step 8: Front legs
Start on the chest smile. Draw a U leg down to a fat paw on the ground and back up.
Step 9: Back legs and paws
Start where each body line stopped. Draw a big round C down to the front paw. Add a bun paw.
Step 10: Toes
On each paw, draw 2 short curved toe lines that flick up from near the bottom.
Step 11: Curly tail
From behind the left back paw, draw a thick tail along the ground, curling up to a point, and back.
Tip The tip points back at the tiger, no higher than the chest.
Step 12: Head stripes
Hang 3 curvy black stripes from the top of the head. Add 1 black stripe on each fluffy cheek.
Step 13: Leg and tail stripes
Draw 2 black stripes on each back leg, 1 on each front leg and 2 on the tail.
Tip Make the tail tip black too.
Step 14: Cream tummy and cheeks
Go over your lines. Colour the nose patch, the insides of the ears, the fluffy cheeks and the tummy cream.
Step 15: Colour the fur orange
Colour the tiger orange, around the cream parts and the stripes. Keep the eyes white.
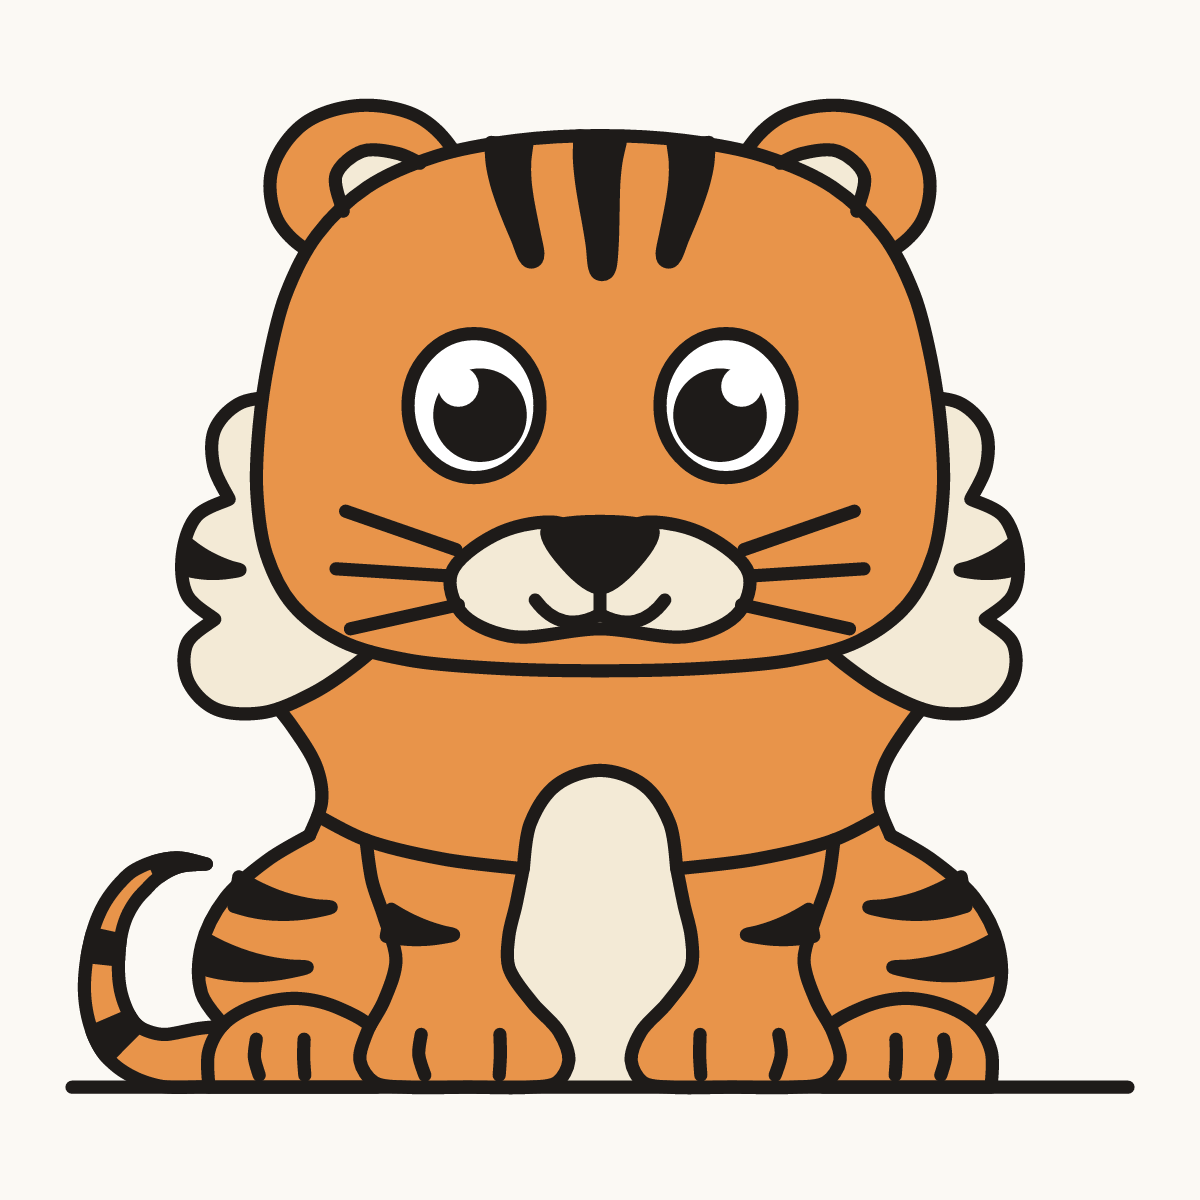
Your finished drawing
Follow the steps above and this is where you end up: a tiger, drawn by you.