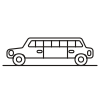
Watch it draw itself · tap to replay
How to Draw a Stretch Limo
Draw a stretch limo in 13 easy steps, about 10 minutes. Free, with a printable worksheet.
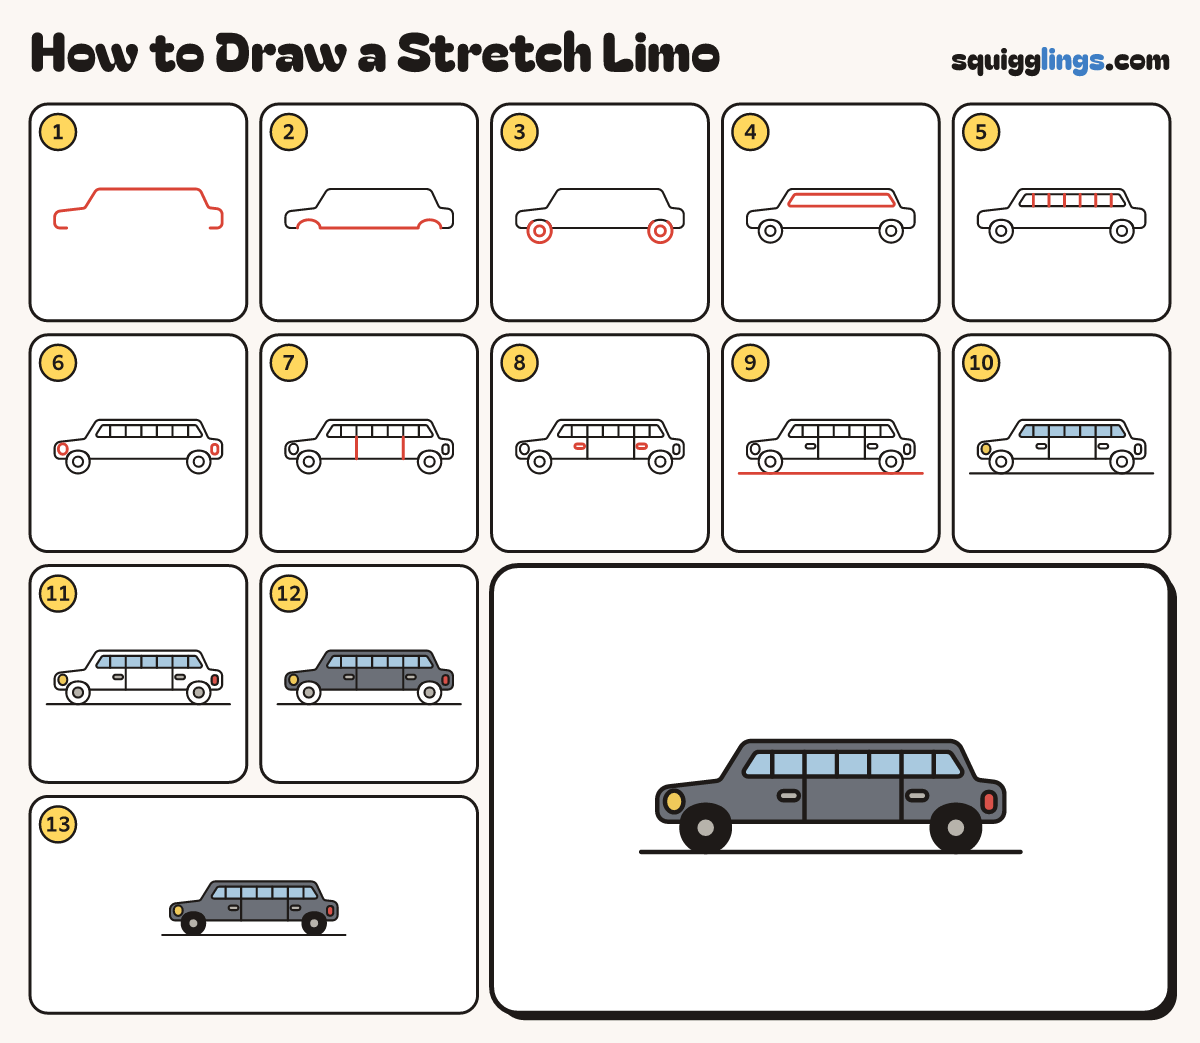
Each picture adds one red line. Draw that line, then scroll to the next picture. Rub out any dashed helper lines at the end. First up: long low body.
Step 1: Long low body
Start low on the left. Draw a nose, bonnet, long flat roof and boot. Stop low on the right.
Tip A limo is much longer than a car: the roof runs nearly all the way along.
Step 2: Wheel arches
Start where you stopped. Draw a rainbow arch, a long flat floor and another arch, back to the nose.
Tip Keep the arches far apart, near the two ends.
Step 3: Two tyres
Tuck a round tyre up into each arch. Draw a small hubcap circle in the middle of each.
Tip Each tyre starts and stops at the ends of its arch.
Step 4: Long window band
Just inside the roof, draw one long window band with slanted ends. Keep a strip of body all round.
Step 5: Seven windows
Rule 6 pillars down the band to make 7 windows. Start each at the top edge, stop at the bottom.
Tip Space the pillars evenly.
Step 6: Headlight, tail light
On the nose draw an oval headlight. On the back end draw a small rounded tail light.
Step 7: Two doors
Start under the second pillar and rule a line down to the floor. Do the same under the fifth.
Step 8: Door handles
Below the windows draw 2 small pill handles: one in front of the first door line, one behind the second.
Step 9: The road
Start in front of the nose. Draw a road line under the tyres, and stop behind the boot.
Tip The road just touches the tyres.
Step 10: Blue windows, yellow light
Colour all 7 windows sky blue. Colour the headlight yellow.
Step 11: Grey bits, red light
Colour both hubcaps and both door handles grey. Colour the tail light red.
Step 12: Dark grey limo
Colour the whole body dark grey, going around the windows, lights and handles.
Tip Press gently so your lines still show.
Step 13: Black tyres
Go over your lines. Colour both tyres black around the hubcaps. Your limo is ready to roll!
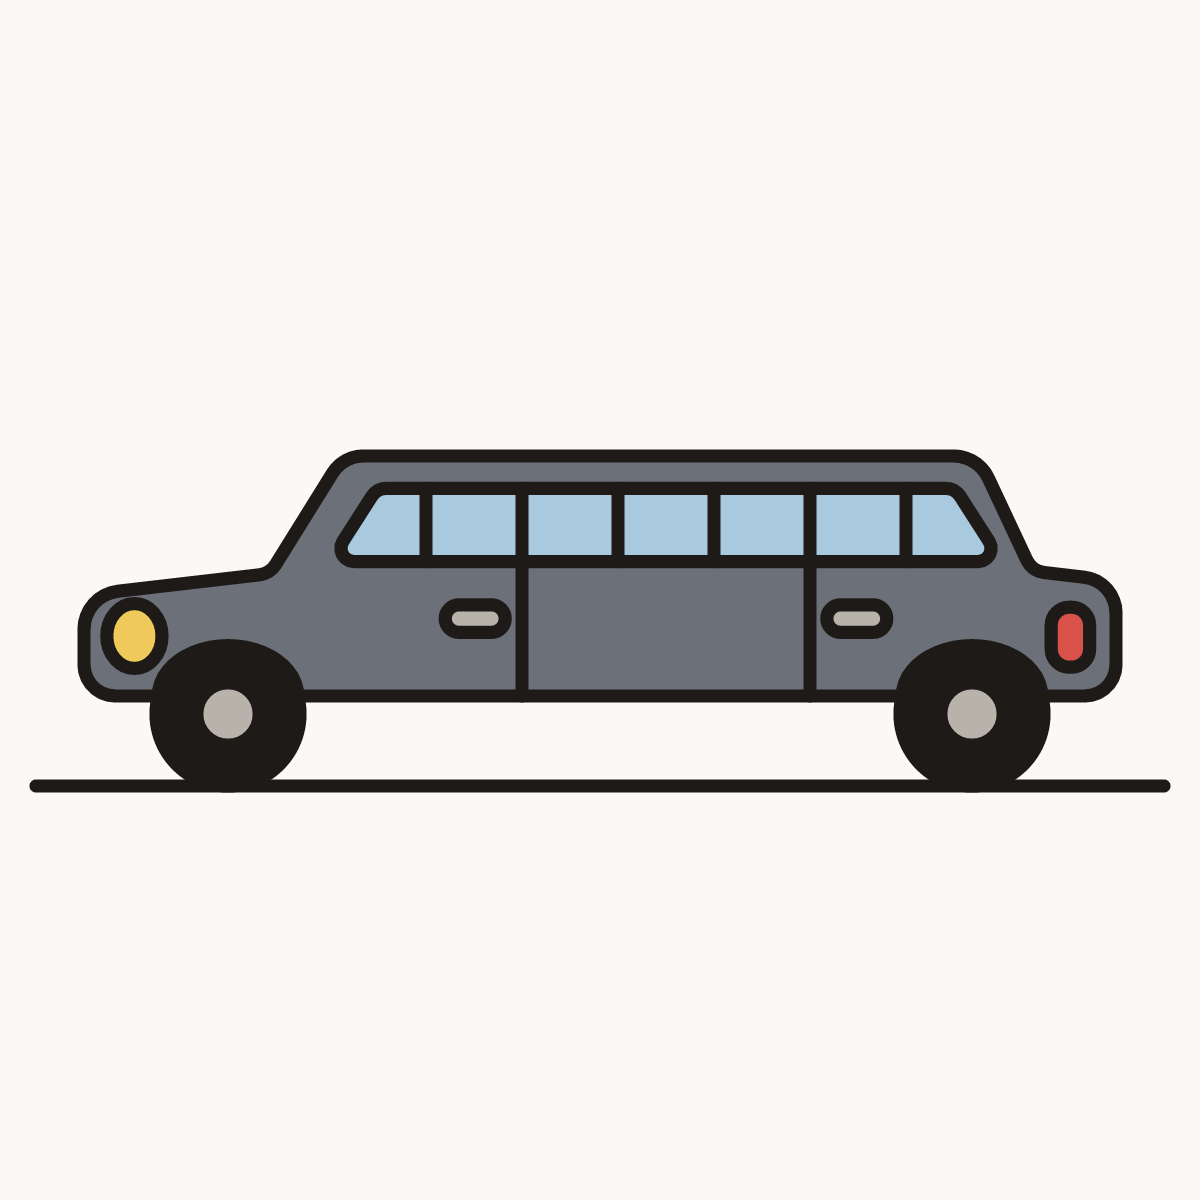
Your finished drawing
Follow the steps above and this is where you end up: a stretch limo, drawn by you.
Every step in one picture