Watch it draw itself · tap to replay
How to Draw a Snakeskin Pattern
Draw a snakeskin pattern in 10 easy steps, about 8 minutes. Free, with a printable worksheet.
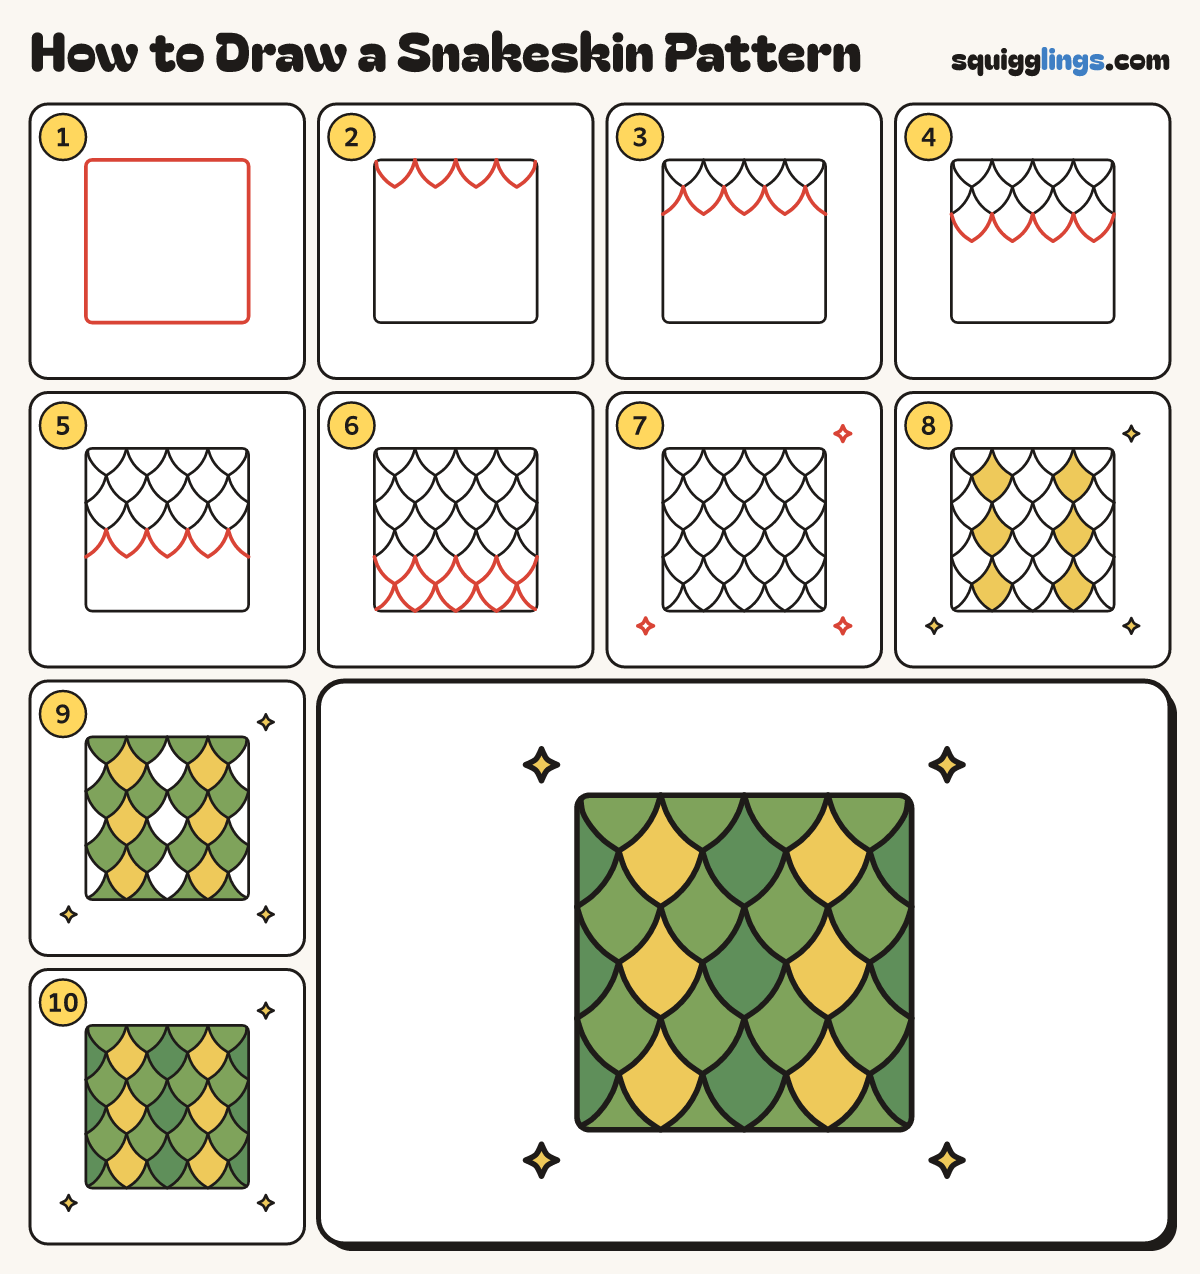
Each picture adds one red line. Draw that line, then scroll to the next picture. Rub out any dashed helper lines at the end. First up: the square.
Step 1: The square
In the middle of your paper draw a big square with soft corners, nearly as big as your page.
Step 2: The top row
Along the top edge draw 4 pointed scales like fat Vs. Each starts and stops on the edge.
Tip Snake scales are pointed, with gently curved sides. Make all 4 the same size.
Step 3: The second row
Under them draw another row, shifted half a scale: each starts at one point and stops at the next.
Tip At each side draw half a scale that stops on the edge of the square.
Step 4: The third row
Draw the third row lined up under the first, each scale starting and stopping at the points above.
Step 5: The fourth row
Draw the fourth row lined up under the second, each scale starting and stopping at the points above.
Step 6: The last rows
Draw 2 more rows, each scale starting and stopping at the points above. The last points touch the bottom.
Step 7: Sparkles
Draw 4 sparkle stars off the corners of the square.
Step 8: Yellow sparkles and scales
Colour the 4 sparkles yellow. In the second, fourth and sixth rows, colour 2 scales yellow, skipping the middle one.
Tip Go over your lines first. Leave the half scales at the sides white for now.
Step 9: Light green scales
Colour the first, third and fifth rows light green, and the half scales along the bottom.
Step 10: Dark green scales
Colour the scales that are still white dark green. Your snakeskin pattern is done!
Tip The dark scales make a stripe down the middle, like the markings on a snake's back.
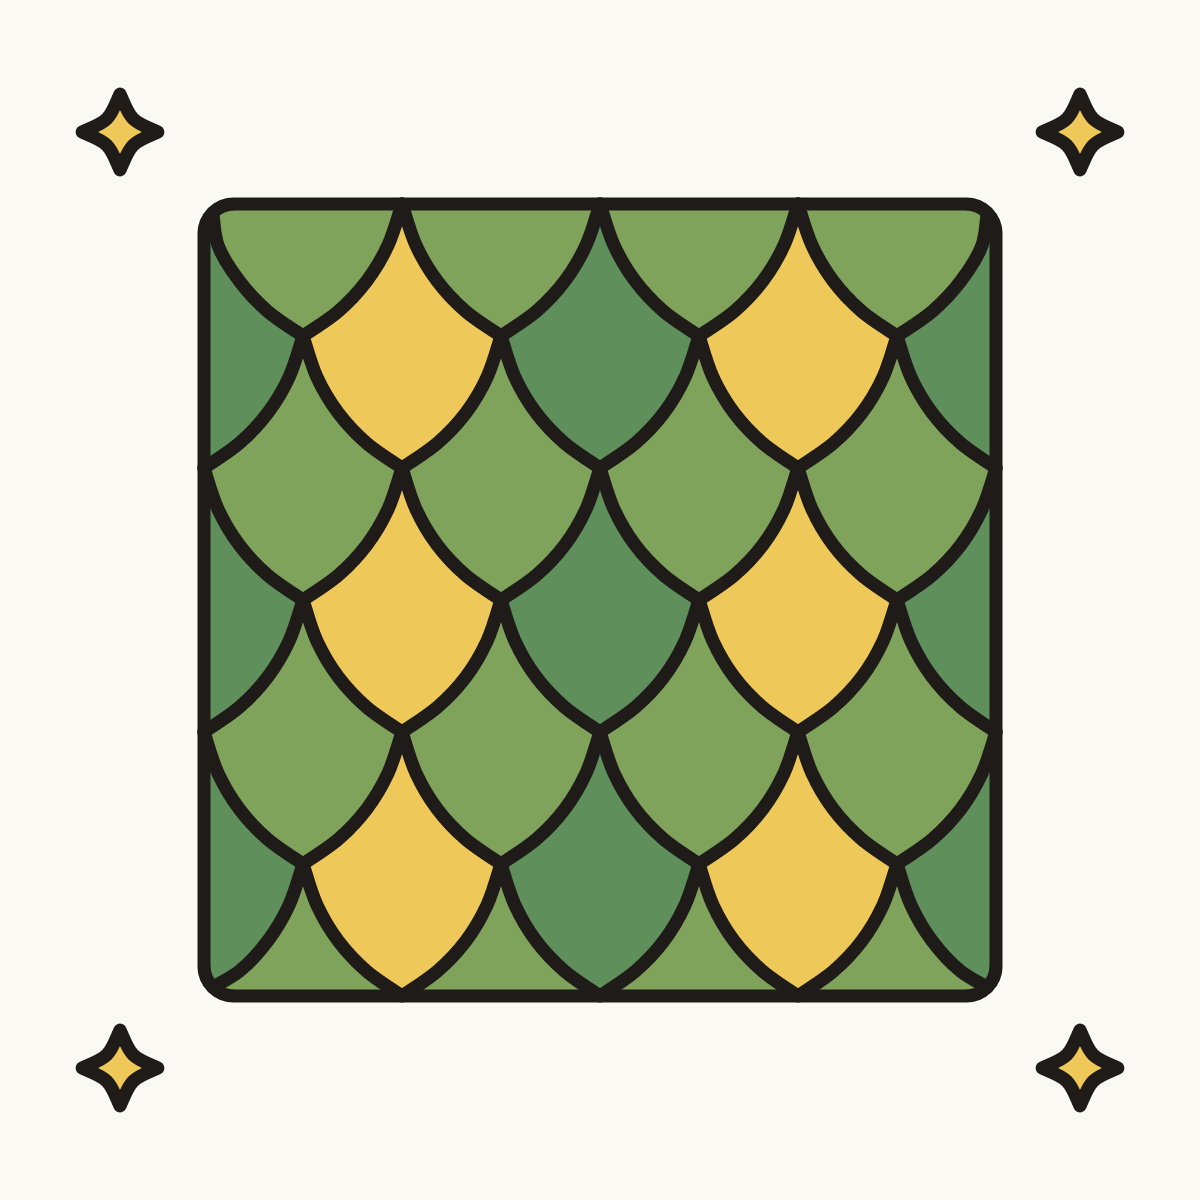
Your finished drawing
Follow the steps above and this is where you end up: a snakeskin pattern, drawn by you.
Every step in one picture