Watch it draw itself · tap to replay
How to Draw a Pineapple Slice
Draw a pineapple slice in 10 easy steps, about 8 minutes. Free, with a printable worksheet.
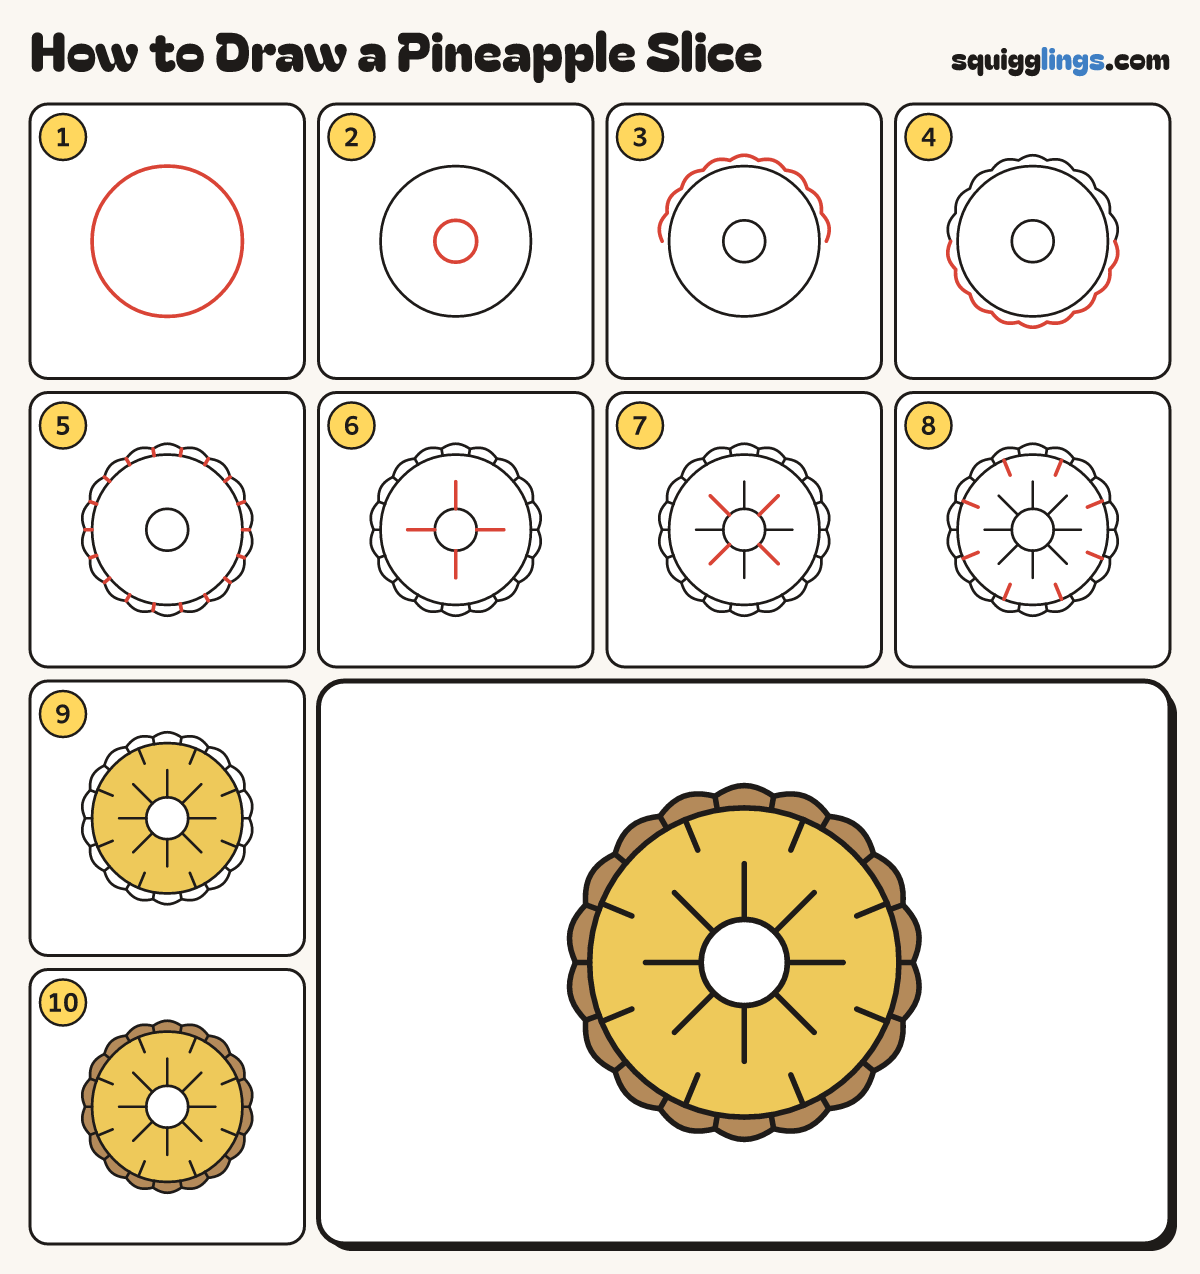
Each picture adds one red line. Draw that line, then scroll to the next picture. Rub out any dashed helper lines at the end. First up: the round slice.
Step 1: The round slice
Draw a big circle in the middle of your paper.
Tip Go slowly round. Leave room outside it for the skin.
Step 2: The hole
Draw a small circle right in the middle, where the hard core was cut out.
Step 3: Bumpy skin: top
Start beside the left edge. Draw 9 little bumps over the top. Stop beside the right edge.
Tip Keep the bumps a little way outside the circle.
Step 4: Bumpy skin: bottom
Start where the bumps end. Draw 9 more bumps under the bottom. Stop where the first bump began.
Step 5: Skin lines
From every dip between the bumps draw a tiny line in to the circle.
Step 6: Four juicy lines
From the hole draw 4 lines: up, down, left and right. Stop halfway to the edge.
Step 7: Four more lines
Draw 4 more lines out from the hole, in the gaps between the first ones.
Step 8: Short lines
From the big circle draw 8 short lines pointing in, between the long ones.
Tip The lines are the juicy threads of the fruit.
Step 9: Yellow fruit
Go over your lines. Colour the fruit yellow. Leave the hole empty.
Step 10: Golden skin
Colour the bumpy skin ring light brown. Your pineapple slice is ready!
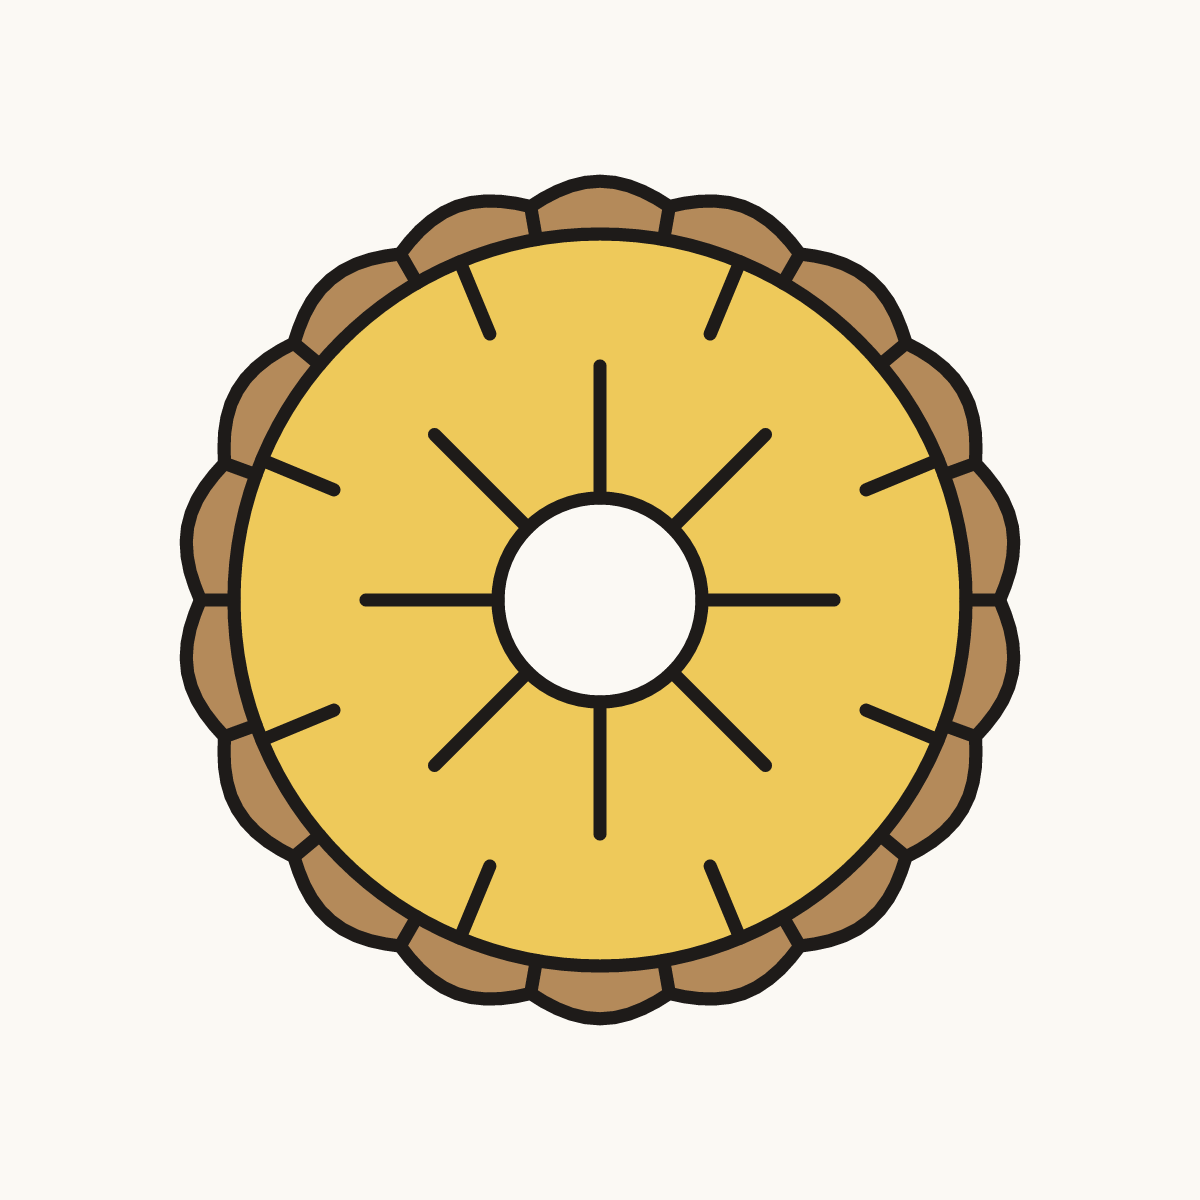
Your finished drawing
Follow the steps above and this is where you end up: a pineapple slice, drawn by you.
Every step in one picture