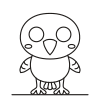
Watch it draw itself · tap to replay
How to Draw a Kawaii Crow
Draw a kawaii crow in 12 easy steps, about 9 minutes. Free, with a printable worksheet.
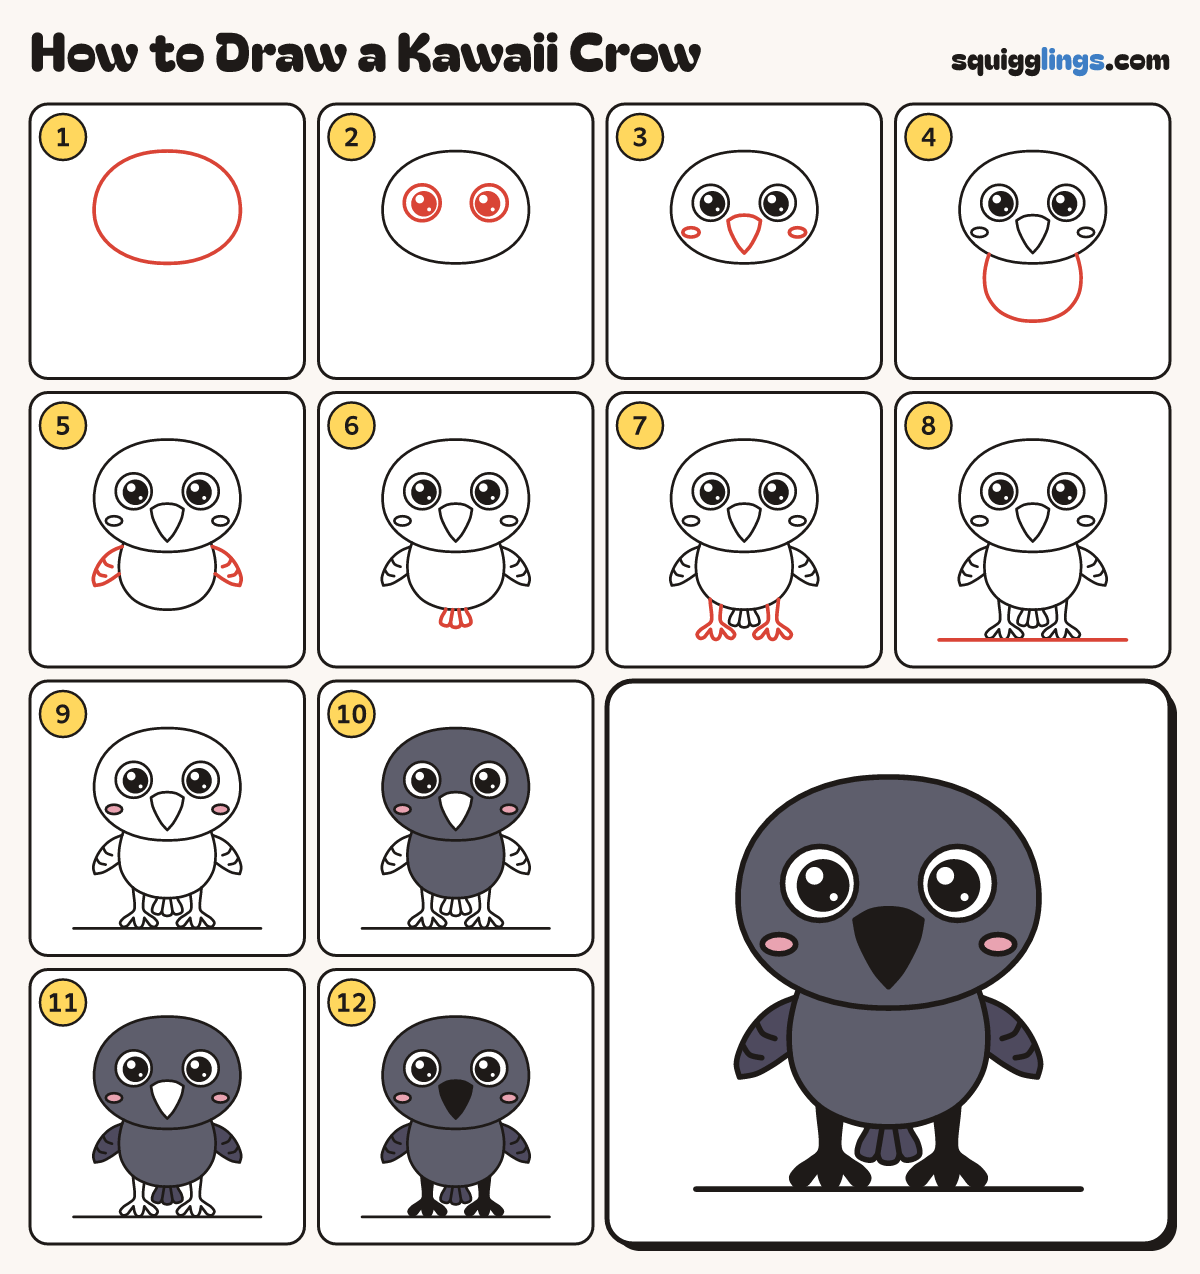
Each picture adds one red line. Draw that line, then scroll to the next picture. Rub out any dashed helper lines at the end. First up: big round head.
Step 1: Big round head
Near the top draw a big round head, wider than it is tall.
Tip The head is much bigger than the body will be.
Step 2: Big shiny eyes
In the middle of the head draw 2 big circles. Inside each, colour a black circle, leaving 2 white shines.
Tip Leave a white ring round each black circle.
Step 3: Bill and cheeks
Between the eyes, a little lower, draw a wide bill coming down to a point. Add 2 oval cheeks.
Tip A crow has a strong, sturdy bill.
Step 4: Small round body
Start under the head on the left. Draw a U-shaped body and stop under the head on the right.
Tip Keep the body narrower than the head.
Step 5: Two small wings
On each side of the body draw a small wing with its tip pointing down. Add 2 feather lines.
Tip Each wing starts and stops on the body.
Step 6: Short tail
Under the middle of the body draw a short tail. Give its end 3 round feather tips.
Tip Draw 2 short lines to split the 3 feathers.
Step 7: Feet and toes
On each side of the tail draw a leg down from the body. Give each foot 3 round toes.
Tip Leave a clear gap between the toes.
Step 8: The ground
Under the feet draw a straight ground line.
Step 9: Pink cheeks
Colour the 2 cheeks pink.
Step 10: Dark grey crow
Colour the head and body dark grey, around the cheeks. Leave the eye rings and the bill white.
Step 11: Darker wings and tail
Press harder to colour the 2 wings and the tail a darker grey.
Step 12: Black bill and feet
Colour the bill and the 2 feet black.
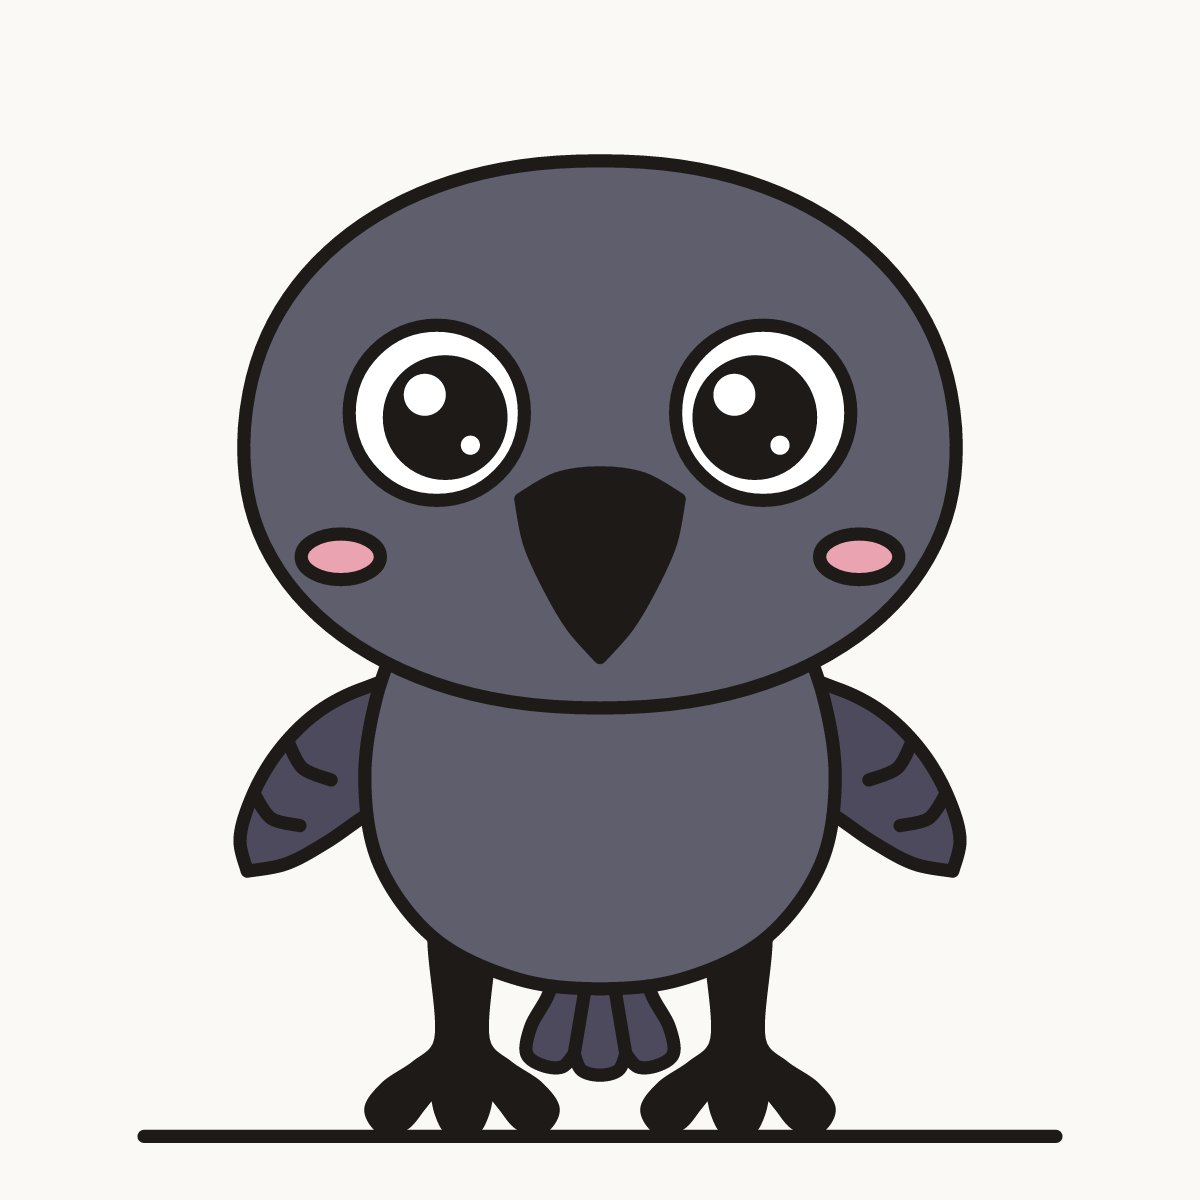
Your finished drawing
Follow the steps above and this is where you end up: a kawaii crow, drawn by you.
Every step in one picture