Watch it draw itself · tap to replay
How to Draw a Jelly Donut
Draw a jelly donut in 10 easy steps, about 8 minutes. Free, with a printable worksheet.
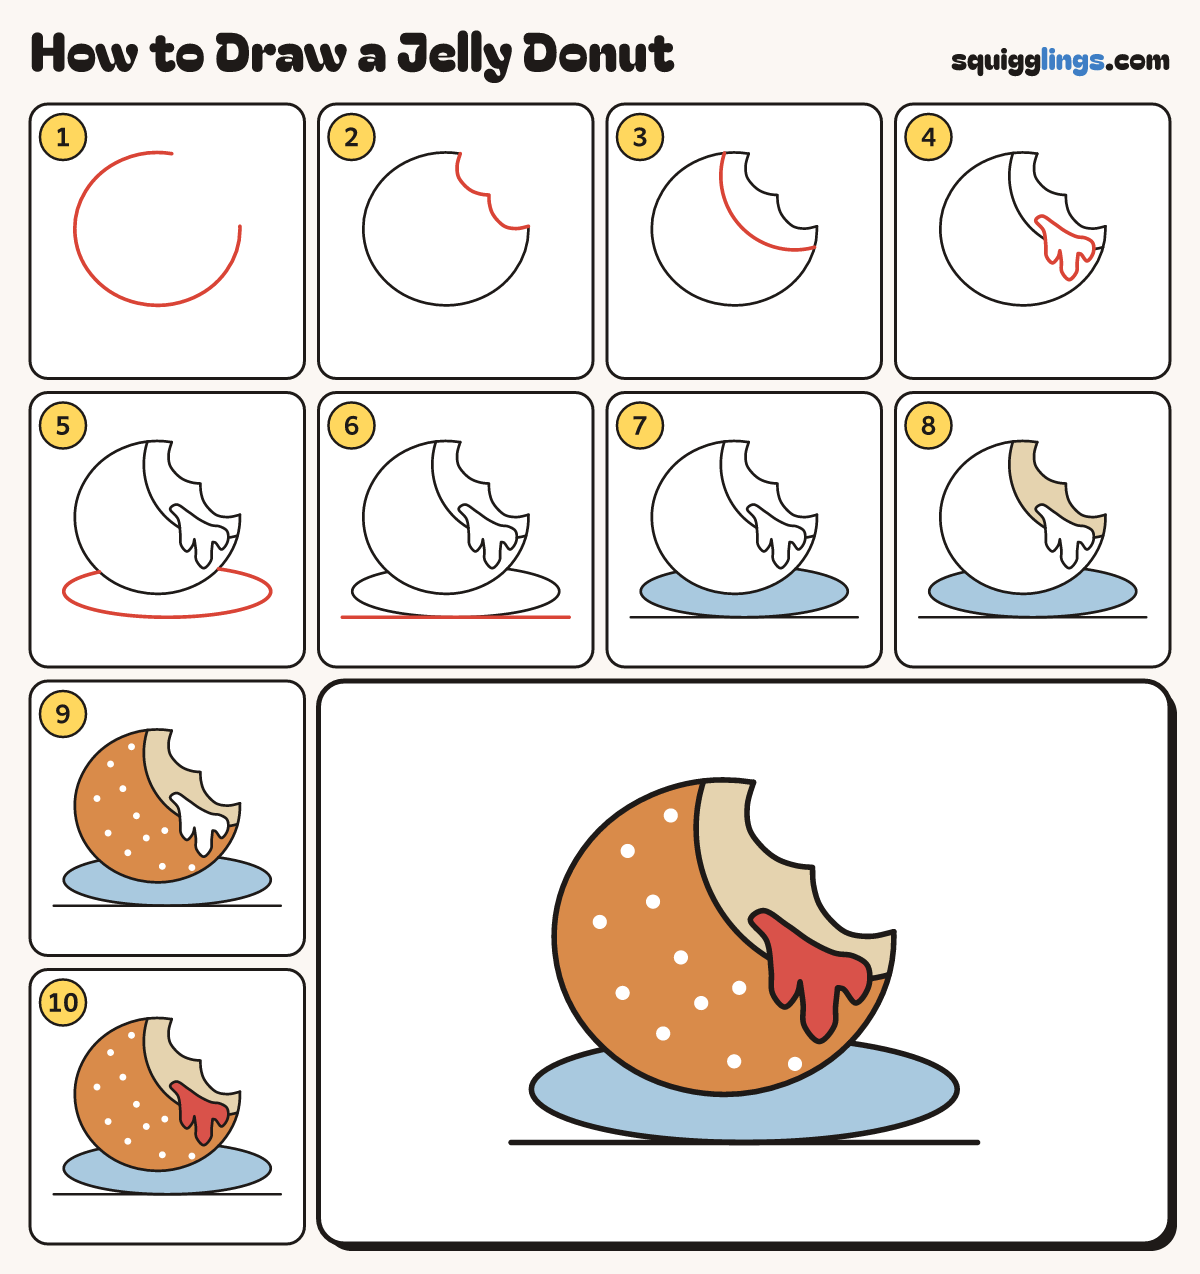
Each picture adds one red line. Draw that line, then scroll to the next picture. Rub out any dashed helper lines at the end. First up: round donut.
Step 1: Round donut
Start at the right, level with the middle. Draw a big round shape down, round and up to the top.
Tip No hole in the middle: this donut is full of jam. The gap is for a bite.
Step 2: The bite
From the top of the gap draw 2 round C's with a point between, down to the gap's bottom.
Step 3: Soft inside
Start on the top edge left of the bite. Draw a big round C to the edge below the bite.
Tip The band between the 2 lines is the soft inside of the donut.
Step 4: Jam oozes out
Along the bottom of the band draw a pool of jam. Let it spill over in 3 round drips.
Tip The middle drip is longest. Rub out the curve inside the jam.
Step 5: A plate
Start low on the donut's left. Draw a flat oval out, round under the donut, back to its right.
Tip Make the plate a little wider than the donut.
Step 6: The table
Start at the far left. Draw a straight table line that just touches the bottom of the plate.
Step 7: Blue plate
Go over your lines. Colour the plate sky blue.
Step 8: Pale inside
Colour the band inside the bite a pale sand colour, around the jam.
Step 9: Sugary golden top
Colour the donut golden brown around the jam drips, leaving lots of little white dots for the sugar.
Step 10: Red jam
Colour the jam and its 3 drips red.
Tip Your jelly donut is done!
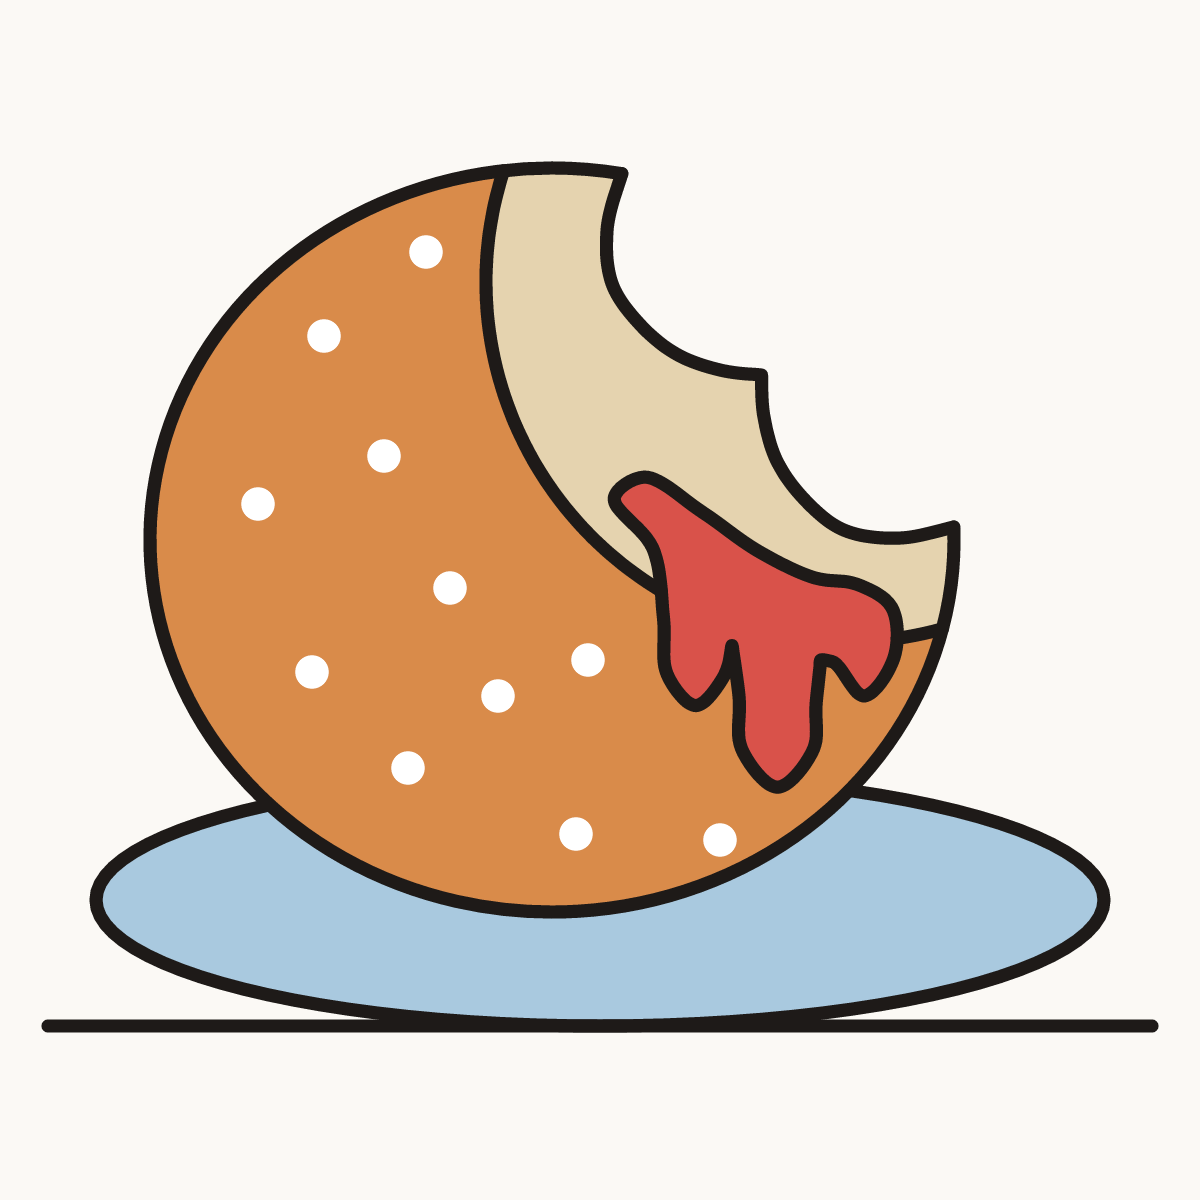
Your finished drawing
Follow the steps above and this is where you end up: a jelly donut, drawn by you.
Every step in one picture