Watch it draw itself · tap to replay
How to Draw an Eel
Draw an eel in 10 easy steps, about 8 minutes. Free, with a printable worksheet.
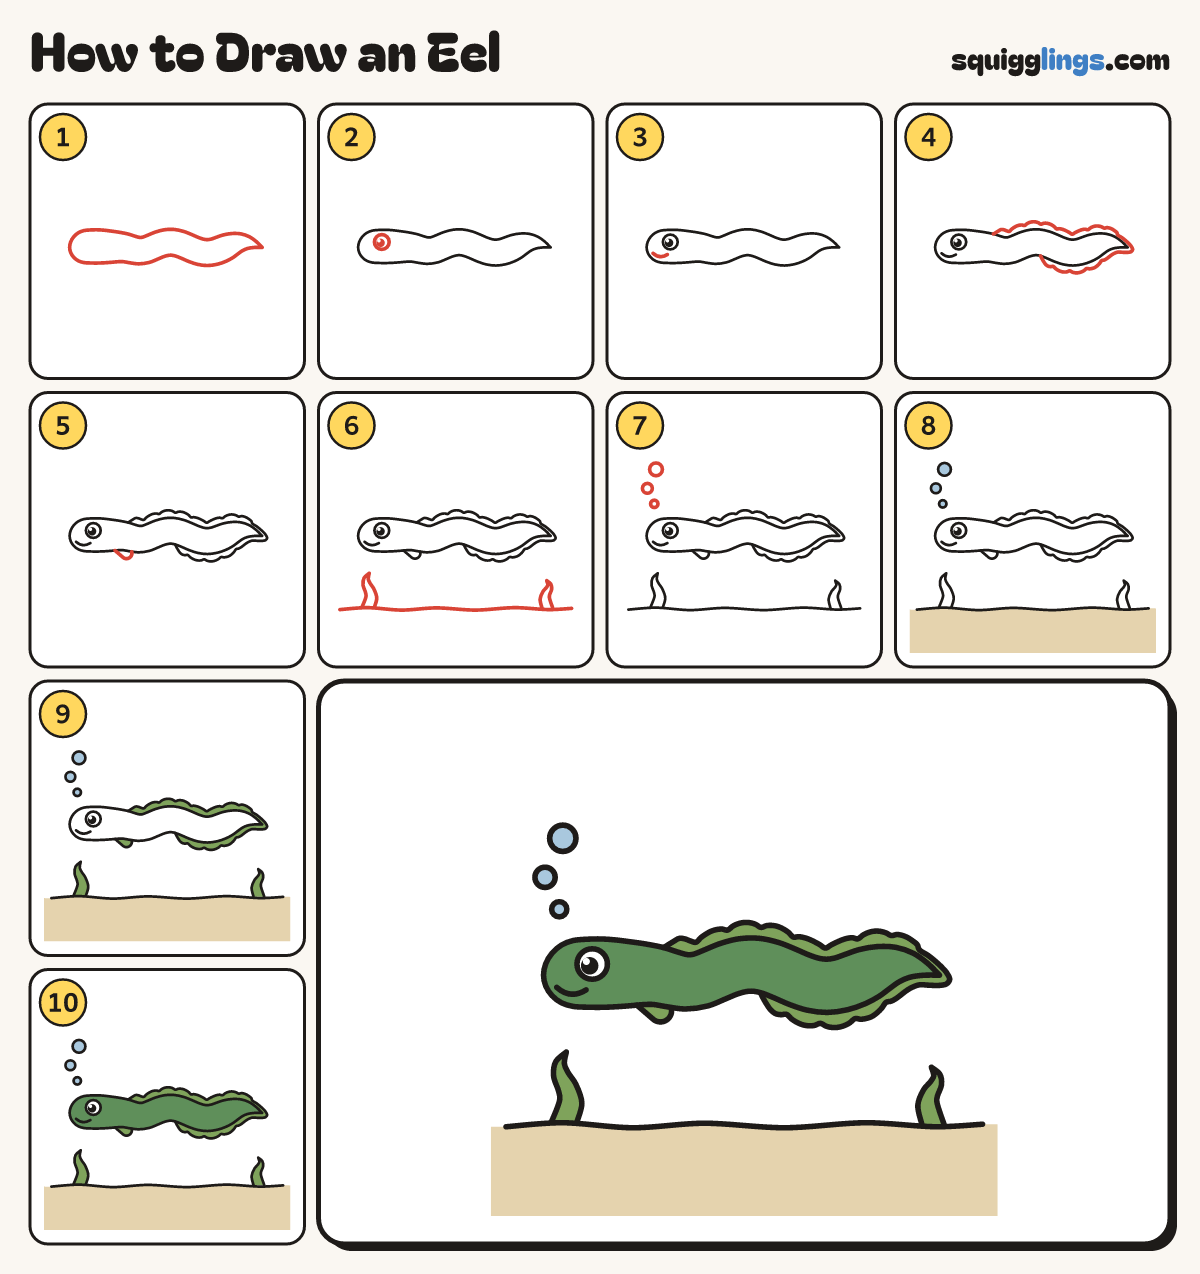
Each picture adds one red line. Draw that line, then scroll to the next picture. Rub out any dashed helper lines at the end. First up: the long body.
Step 1: The long body
Start at a round nose on the left. Draw a long thin wavy ribbon to a tail point, and back.
Tip Keep it thin and even all the way, and only let it get thinner near the tail.
Step 2: A big eye
Near the nose, above the middle, draw a big round eye with a black dot and a shine.
Step 3: A smile
Under the eye, draw a short smile, starting near the nose and stopping below the eye.
Step 4: The fin ribbon
Start on the back a little behind the head. Draw a bumpy fin round the tail, stopping under the belly.
Tip Soft round bumps, no spikes.
Step 5: A little side fin
Just behind the head, draw a small round paddle fin sweeping back, starting and stopping on the belly line.
Step 6: Sand and seaweed
Draw a wavy sand line, starting and stopping just inside the edges. Grow 2 pointy seaweed blades up from it.
Step 7: Bubbles
Above the nose draw 3 round bubbles rising up, each a little bigger than the last.
Step 8: Sand and bubbles
Go over your lines. Colour the sand sandy right to the edges, and the 3 bubbles sky blue.
Step 9: Leaf green fins
Colour the fin ribbon, the little side fin and the 2 seaweed blades leaf green.
Step 10: Colour it green
Colour the whole eel green, leaving the eye white. Your eel is done!
Your finished drawing
Follow the steps above and this is where you end up: an eel, drawn by you.
Every step in one picture