Watch it draw itself · tap to replay
How to Draw a Biohazard Symbol
Draw a biohazard symbol in 11 easy steps, about 8 minutes. Free, with a printable worksheet.
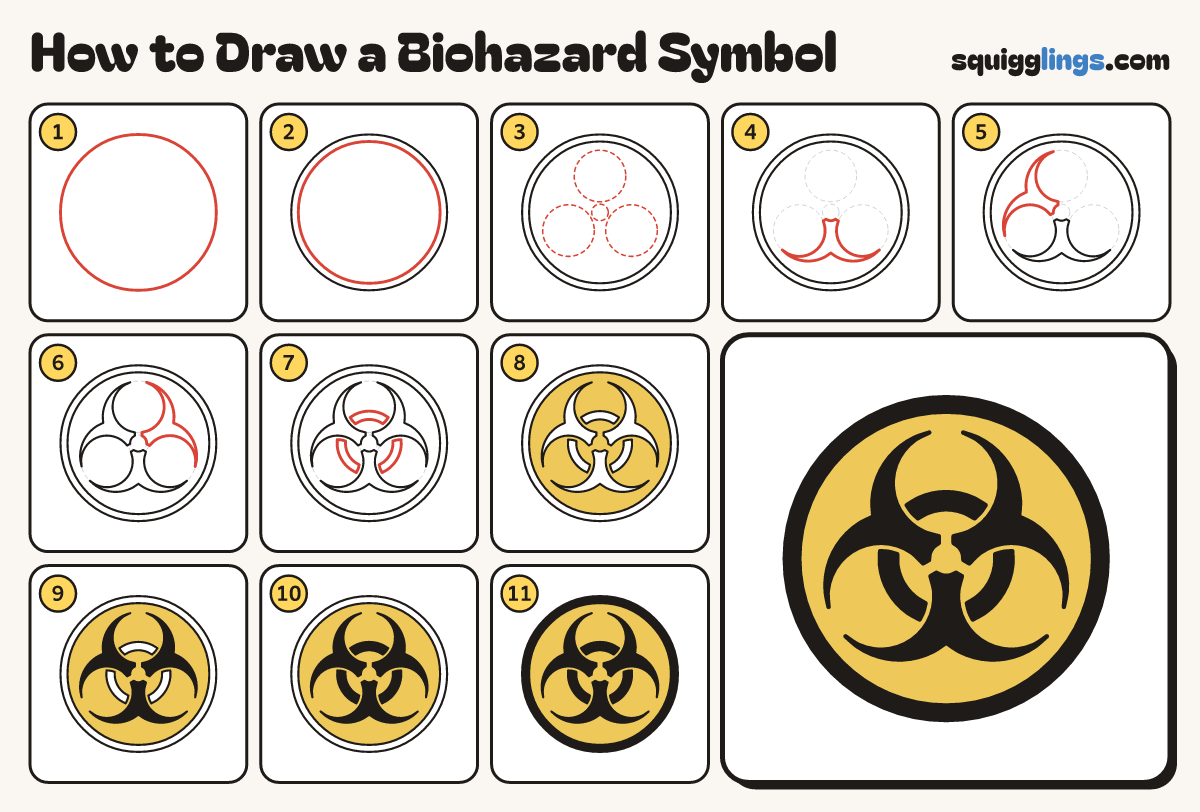
Each picture adds one red line. Draw that line, then scroll to the next picture. Rub out any dashed helper lines at the end. First up: the round sign.
Step 1: The round sign
Draw a big round circle that fills most of the paper. Go slowly, back to the start.
Tip Turn the paper as you go to keep the circle round.
Step 2: The border
Just inside it draw a second circle to make a thin border all the way round.
Step 3: Guide circles
Lightly draw a small circle in the middle. Add 3 bigger circles round it, one on top.
Tip The 3 big circles are the same size and do not touch.
Step 4: The bottom claw
Between the 2 lower circles draw a pointed shape. Its 2 arms curl out round the circles to sharp tips.
Tip The point at the top touches the small middle circle.
Step 5: The left claw
Draw the same shape between the top circle and the left circle.
Tip Leave a thin gap between the claws near the middle.
Step 6: The right claw
Draw the last one between the top circle and the right circle, so all 3 match.
Step 7: Ring bars
Inside each guide circle draw a short curved bar, like a piece of a ring.
Tip Each bar floats. It does not touch the claws.
Step 8: Yellow sign
Rub out the guide circles. Colour the sign yellow inside the border, around the claws and bars.
Tip Yellow goes first so the black stays clean.
Step 9: Black claws
Colour the 3 claws black. Press hard so they are dark.
Step 10: Black bars
Colour the 3 curved bars black.
Step 11: Black border
Colour the thin border black and go over your lines. Your biohazard symbol is done!
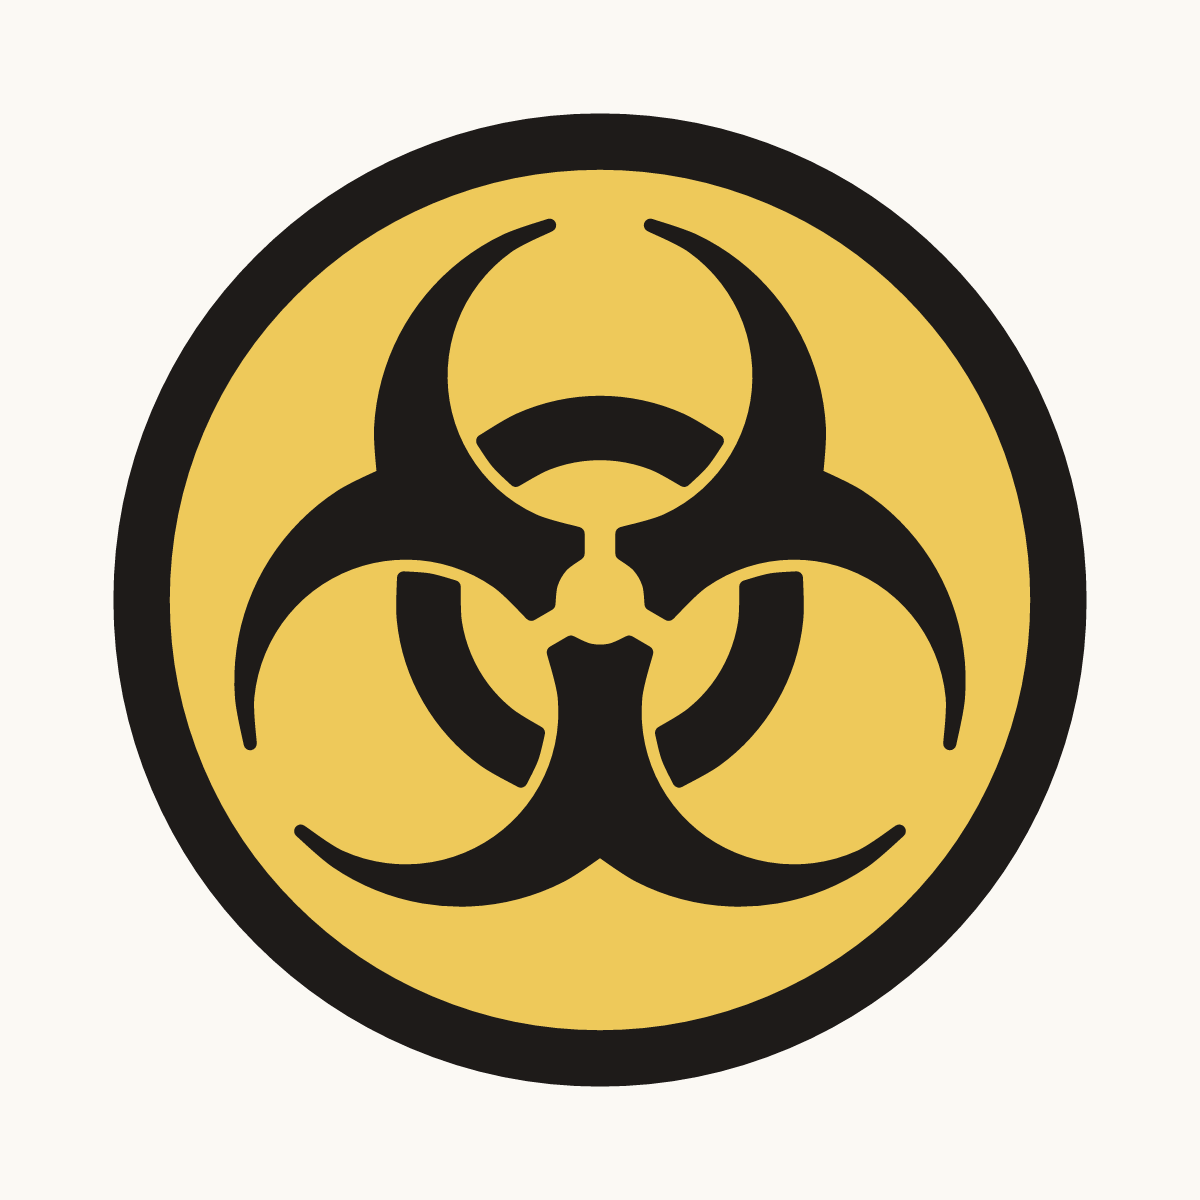
Your finished drawing
Follow the steps above and this is where you end up: a biohazard symbol, drawn by you.
Every step in one picture