Watch it draw itself · tap to replay
How to Draw an Anomalocaris
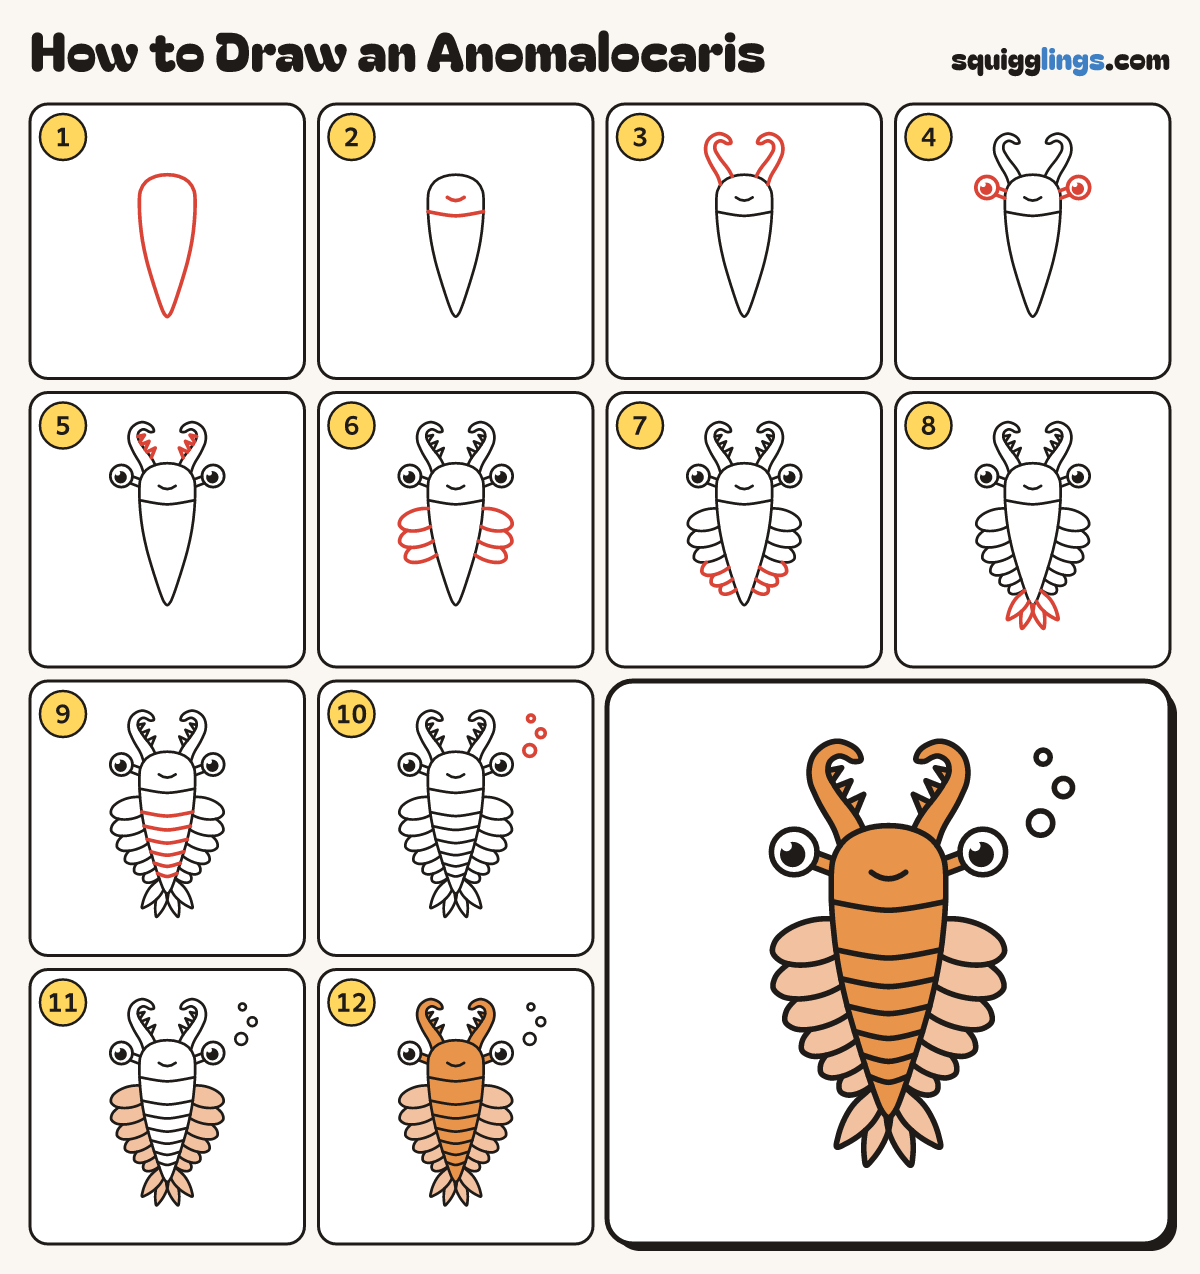
Draw an anomalocaris in 12 easy steps, about 9 minutes. Free, with a printable worksheet.
Each picture adds one red line. Draw that line, then scroll to the next picture. Rub out any dashed helper lines at the end. First up: long body.
Step 1: Long body
Down the middle draw a long carrot shape: a round head end on top, narrowing to a point below.
Tip Leave room above for the arms and beside it for the flaps.
Step 2: Head and smile
Draw a curve across the body from edge to edge for the head. Add a small smile above it.
Step 3: Curled arms
On top of the head draw 2 thick arms curling out, up and in, each ending in a thin tip.
Tip These 2 grabbing arms are how you spot an anomalocaris.
Step 4: Eyes on stalks
On each side of the head draw a short stalk with a big round eye on it. Add black dots.
Tip Leave a tiny white shine in each eye.
Step 5: Arm spikes
Draw 3 small pointy spikes along the inside edge of each arm.
Tip The spikes point in, towards the other arm.
Step 6: Big side flaps
Below the head line draw 3 big round flaps on each side, each one tucked behind the flap above.
Tip The flaps lean back a little, like oars.
Step 7: Smaller flaps
Draw 3 more flaps on each side the same way, getting smaller towards the pointed end.
Step 8: Tail fan
At the pointed end draw 2 long leaf shapes on each side, spreading out like a fan.
Step 9: Body stripes
Draw 6 gentle curves across the body from edge to edge, one under each pair of flaps.
Step 10: Bubbles
Beside the arms draw 3 small round bubbles floating up, each one smaller than the last.
Step 11: Peach flaps
Colour all 12 flaps and the tail fan peach.
Step 12: Colour it orange
Colour the body, head, arms, spikes and eye stalks orange. Leave the eyes and bubbles white.
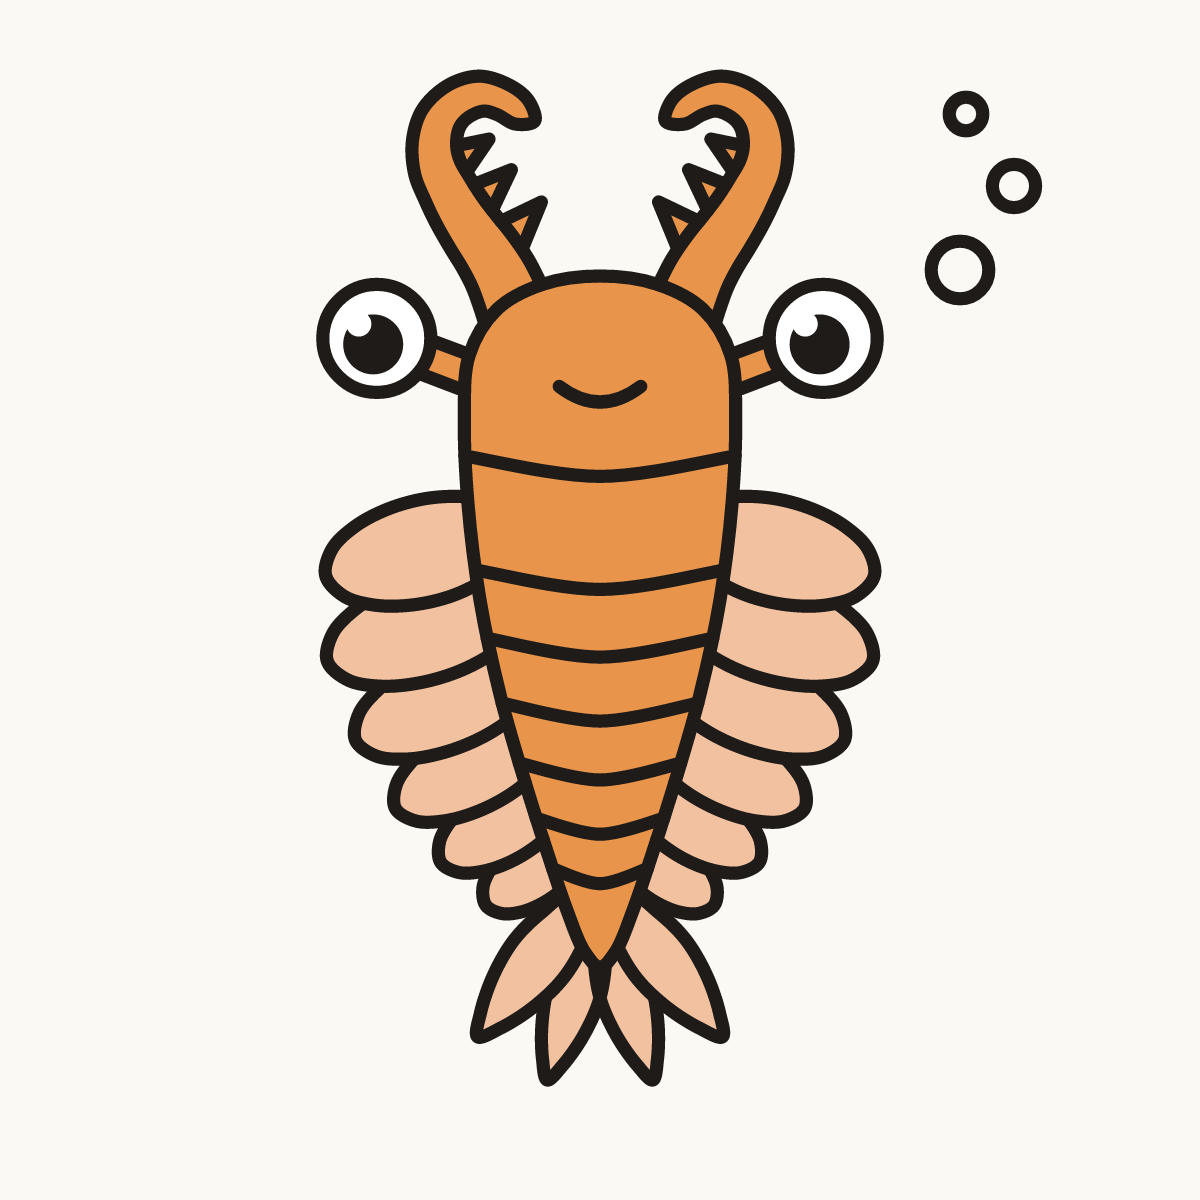
Your finished drawing
Follow the steps above and this is where you end up: an anomalocaris, drawn by you.
Every step in one picture