Watch it draw itself · tap to replay
How to Draw a Heart Cookie
Draw a heart cookie in 11 easy steps, about 8 minutes. Free, with a printable worksheet.
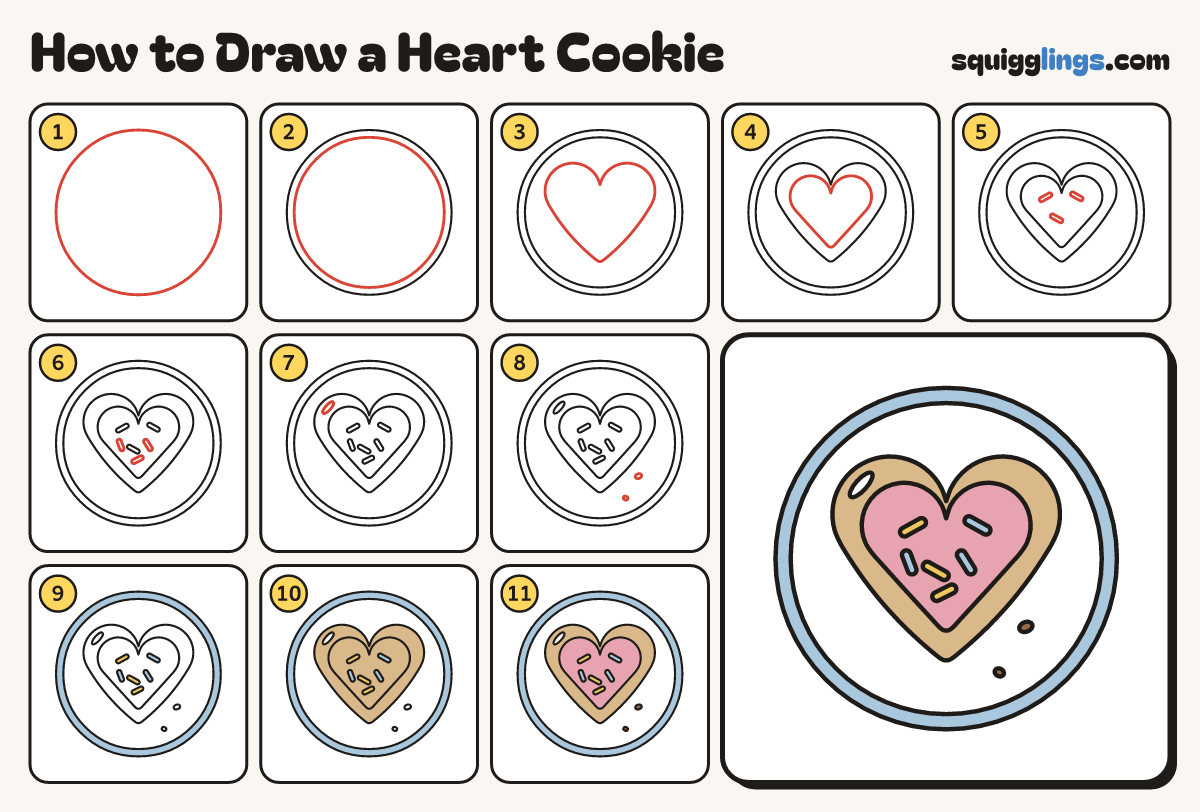
Each picture adds one red line. Draw that line, then scroll to the next picture. Rub out any dashed helper lines at the end. First up: the plate.
Step 1: The plate
In the middle of your paper draw a big round plate, nearly as big as the page.
Tip Everything goes inside the plate, so draw it big.
Step 2: The rim
Inside the plate draw a second circle, a finger in from the edge, for the rim.
Step 3: The heart cookie
Inside the rim draw a big fat heart, nearly filling it, with a soft point at the bottom.
Tip Let both sides bow out all the way down, so the point stays soft and round.
Step 4: Icing heart
Inside the cookie draw a smaller heart for the icing, a finger in from the edge all the way round.
Step 5: Sprinkles
On the icing draw 3 short fat sticks, tilted different ways: one on each bump, one in the middle.
Step 6: More sprinkles
Draw 3 more sticks lower on the icing: one right, one left and one near the point.
Step 7: A shine
On the left bump, between the 2 hearts, draw a small tilted oval for a shine.
Step 8: Crumbs
Near the cookie's point draw 2 tiny oval crumbs on the plate: a bigger one higher, a small one lower.
Step 9: Sky rim, yellow sprinkles
Go over your lines. Colour the sprinkles yellow and sky blue, and the rim sky blue. Leave the middle white.
Step 10: Tan cookie
Colour the cookie tan between the 2 hearts, leaving the shine white.
Step 11: Pink icing, brown crumbs
Colour the icing heart pink, going around the sprinkles, and colour the crumbs brown.
Your finished drawing
Follow the steps above and this is where you end up: a heart cookie, drawn by you.
Every step in one picture