Watch it draw itself · tap to replay
How to Draw a Clarinet
Draw a clarinet in 12 easy steps, about 9 minutes. Free, with a printable worksheet.
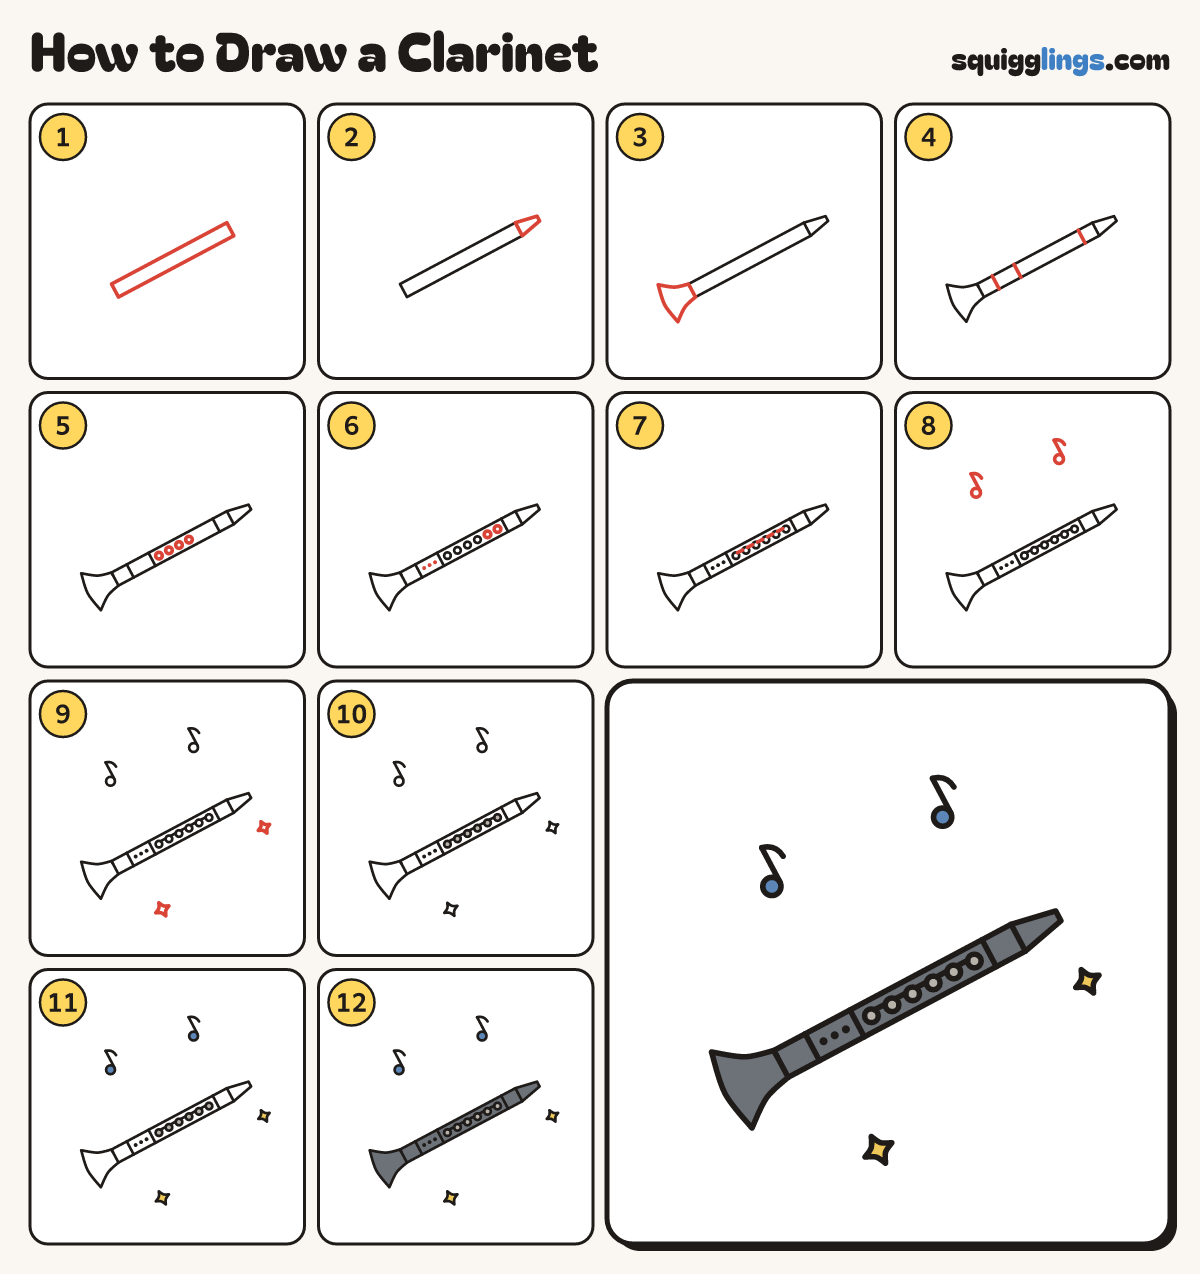
Each picture adds one red line. Draw that line, then scroll to the next picture. Rub out any dashed helper lines at the end. First up: the tube.
Step 1: The tube
Across the middle, draw a long thin tube tilted up to the right, with a short line closing each end.
Tip Long and thin like a straw.
Step 2: Mouthpiece
On the top right end, draw 2 lines leaning in to a narrow flat tip.
Tip Like a little wedge on the end of the tube.
Step 3: The bell
On the bottom left end, flare a line out from each edge like a trumpet. Join them with a rim.
Tip The bell is about twice as wide as the tube.
Step 4: Joint rings
Draw 3 short lines across the tube: one just above the bell, one higher, and one below the mouthpiece.
Step 5: Four keys
Along the middle of the tube, above the second ring, draw 4 little round keys in a row.
Step 6: Holes and more keys
Between the bottom 2 rings, colour 3 tiny black holes. Above the 4 keys, add 2 more keys.
Step 7: The rod
Join the tops of all 6 keys with a thin rod, from the first key to the last.
Step 8: Music notes
Draw 2 small music notes above the clarinet: a dot with a stem up and a little flag.
Step 9: Sparkles
Draw 2 sparkle stars near the clarinet.
Step 10: Silver keys
Colour all 6 keys light grey for silver.
Step 11: Blue notes, yellow sparkles
Colour the notes blue and the sparkles yellow.
Step 12: Dark clarinet
Go over your lines and colour the clarinet dark grey around the keys and holes. It is ready to play!
Your finished drawing
Follow the steps above and this is where you end up: a clarinet, drawn by you.
Every step in one picture