Watch it draw itself · tap to replay
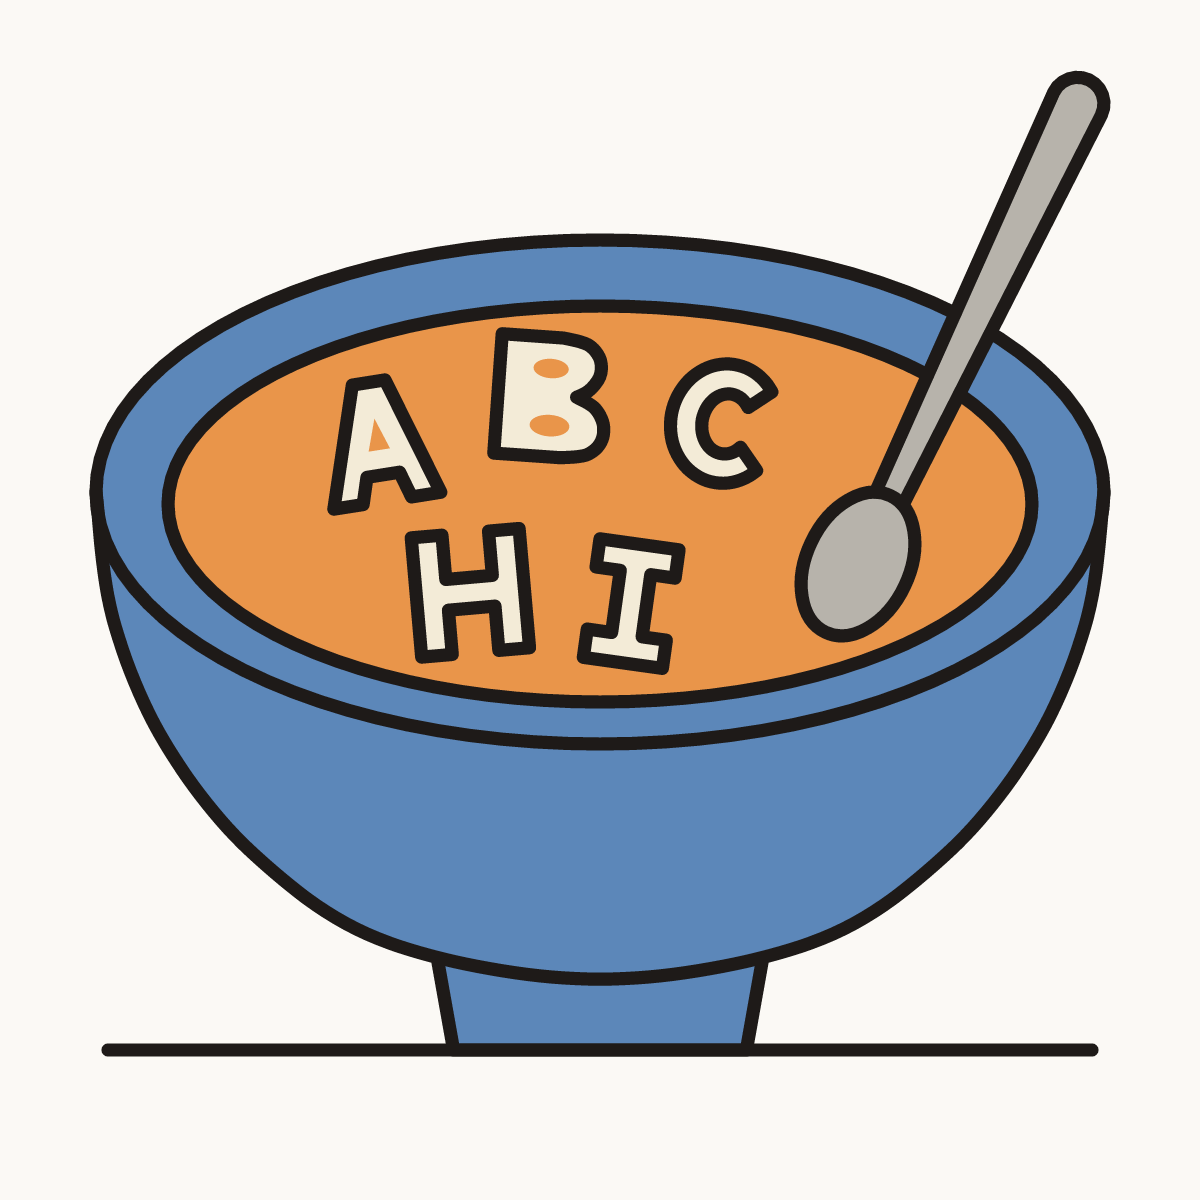
How to Draw Alphabet Soup
Draw alphabet soup in 14 easy steps, about 11 minutes. Free, with a printable worksheet.
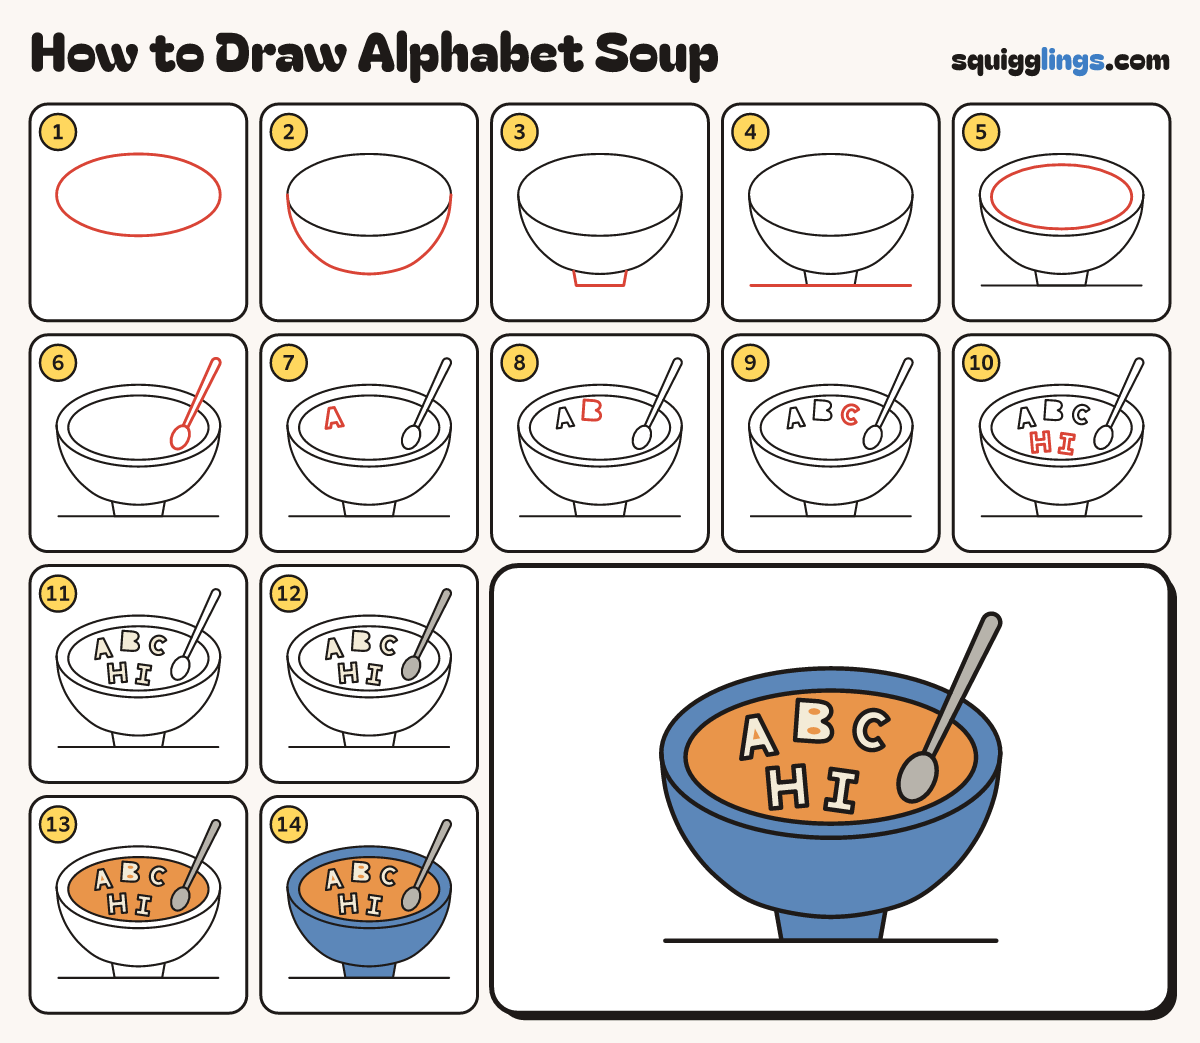
Each picture adds one red line. Draw that line, then scroll to the next picture. Rub out any dashed helper lines at the end. First up: the rim.
Step 1: The rim
Draw a big wide oval across your paper, a little above the middle.
Tip You look down into the bowl, so the top is a fat oval.
Step 2: The bowl
Start at the left end of the oval. Draw a wide U under it and stop at the right end.
Step 3: The foot
Start under the bowl. Draw a low stand: down, across and up to the bowl again.
Step 4: The table
Draw a long straight table line under the foot, from left to right.
Step 5: The soup
Inside the rim draw a second oval, a finger in from the first, for the soup.
Step 6: The spoon
On the right of the soup draw a small egg. Draw a long handle from it, up over the rim.
Tip The handle gets a little wider towards its round end.
Step 7: Letter A
On the left of the soup draw a fat letter A with a flat top, tipping a little.
Tip Pasta letters are fat, so draw the outline of the letter.
Step 8: Letter B
Next to it, a bit higher, draw a fat letter B: a straight back and 2 round bumps.
Step 9: Letter C
After the B draw a fat letter C, like a thick moon, tipping a little.
Step 10: H and I
Under the A and B draw a fat letter H, then a fat letter I. They say HI!
Step 11: Cream letters
Go over your lines, then colour the 5 pasta letters a pale cream.
Step 12: Grey spoon
Colour the spoon grey.
Step 13: Orange soup
Colour the soup orange, around the letters and the spoon. Add little orange holes in the A and B.
Step 14: Blue bowl
Colour the rim, the bowl and its foot blue. Your alphabet soup is ready!
Your finished drawing
Follow the steps above and this is where you end up: alphabet soup, drawn by you.
Every step in one picture