Watch it draw itself · tap to replay
How to Draw a Praying Mantis
Draw a praying mantis in 12 easy steps, about 9 minutes. Free, with a printable worksheet.
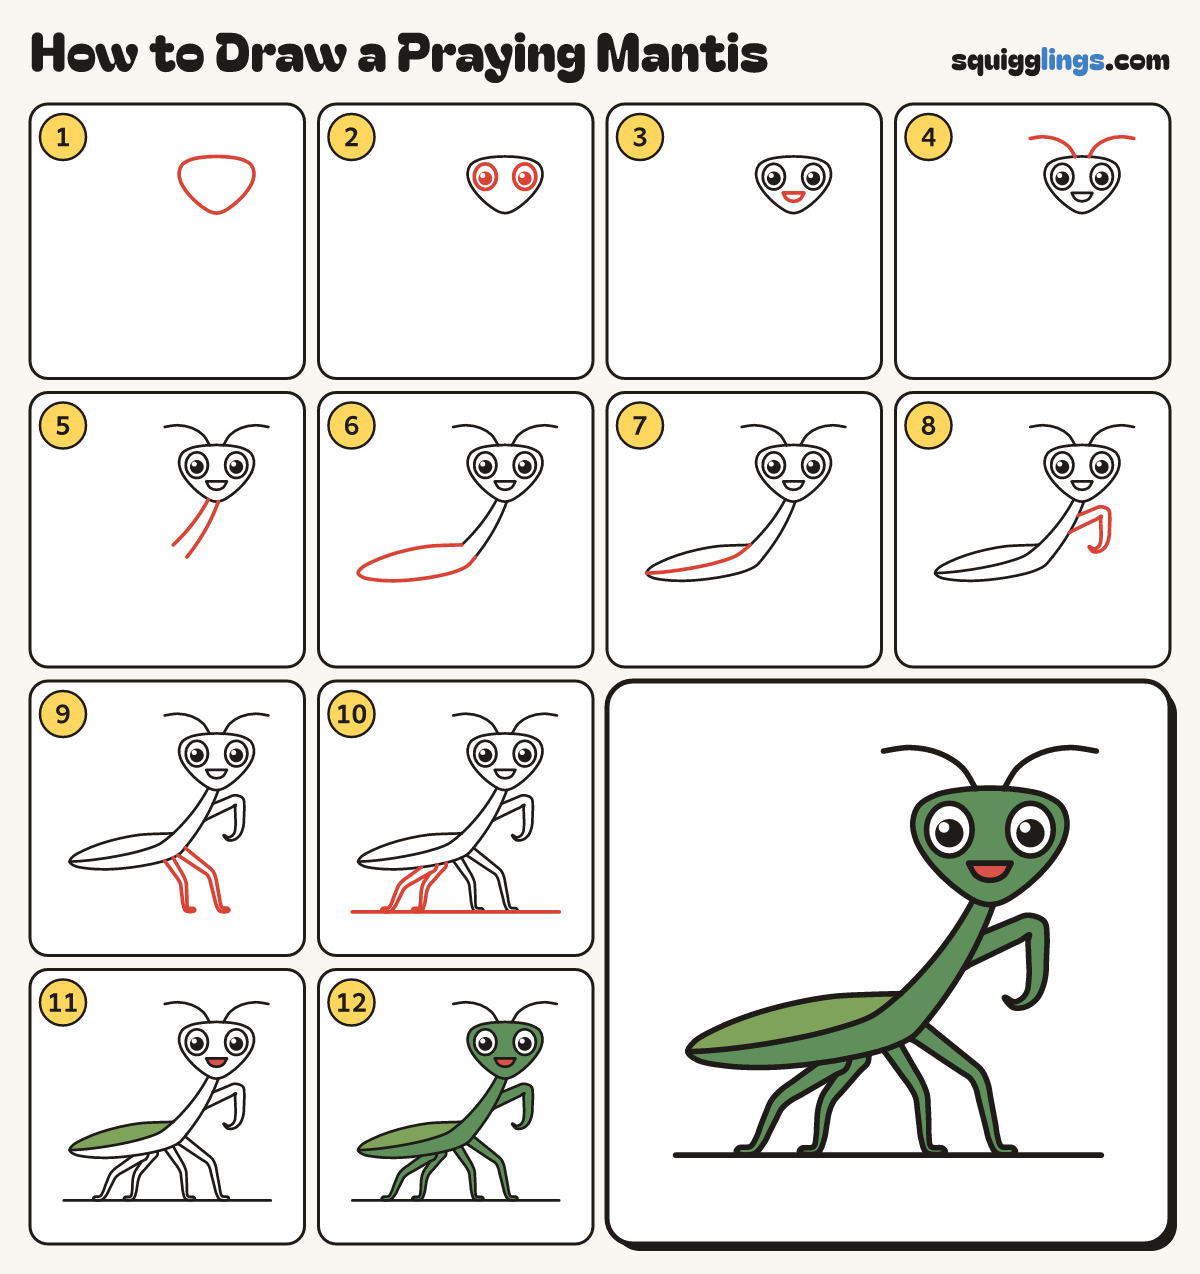
Each picture adds one red line. Draw that line, then scroll to the next picture. Rub out any dashed helper lines at the end. First up: triangle head.
Step 1: Triangle head
Near the top right, draw a wide upside-down triangle head with soft corners and a round chin.
Step 2: Two big eyes
In the top corners of the head, draw 2 big egg eyes. Add black dots and white shines.
Step 3: Happy smile
Under the eyes, draw a short flat line with a U under it for a smile.
Step 4: Long feelers
Start on top of the head. Draw 2 thin feelers curving out, and stop past the sides of the head.
Step 5: Long neck
Start under the chin. Draw a long thin neck sloping down to the left. Leave the bottom open.
Step 6: Long body
Start on the back of the neck. Draw a long leaf body out to the left, back to the neck.
Tip The body is pointy at the back.
Step 7: Folded wings
Start where the neck meets the body. Draw a long curve along the body to its pointy tip.
Step 8: Praying arm
From the front of the neck, draw a thick arm up and forward, then down to a hook.
Tip Fold the arm up in front of the chin, like hands praying.
Step 9: Front legs
Under the front of the body, draw 2 thin legs out to a knee, then down to little feet.
Step 10: Back legs and ground
Just behind the front legs, draw 2 more legs bending back. Add a ground line under the feet.
Step 11: Wings and mouth
Colour the folded wings light green and the mouth red. Leave the eyes white.
Step 12: Green mantis
Colour the head, neck, body, arm and legs green, around the wings, eyes and mouth.
Your finished drawing
Follow the steps above and this is where you end up: a praying mantis, drawn by you.
Every step in one picture